Lab 2: Programmatic Agentic Systems
Track 1: Agentic Data Engineering · Day 2 breakout lab
In this lab, you'll program Otto — Ascend's AI agent to shape how it behaves. You'll build the foundation for agentic data operations for an enterprise manufacturing business: creating rules, commands, and agents that customize agentic behavior and outputs. By the end, you'll have a configured agentic harness ready to power the full pipeline build in Lab 3.
Rules are markdown files that give agents persistent instructions — think of them as a team playbook that guide actions and outputs. An always-on rule is inserted into the context window of every conversation. A keyword-scoped or glob-scoped rule only fires when a specific keyword appears in the user's prompt or when Otto is working with a matching file type. This lets you build a deep rules library without bloating every conversation's context window.
Before you start
- Complete Hands-On Lab: Getting Agentic on Day 1
- You should have an Ascend account and an existing Project
Step 1: Explore the otto/ directory
Every Ascend Project includes an otto/ directory that configures how the Agents in your Project behave.
Here's the structure you'll build out over the course of this lab:
otto/
├── agents/
│   └── data_quality_agent.md         ← custom agent (Step 5, optional)
├── commands/
│   └── learning.md                   ← custom command (Step 4)
├── rules/
│   ├── learning.md                   ← always-on rule (Step 2)
│   ├── code_standards_python.md      ← glob-scoped rule (Step 3)
│   └── operations_scheduling.md      ← keyword-scoped rule (Step 3)
└── mcp.yaml                          ← MCP server configuration (Step 6, optional)
Open the Files panel in your Workspace toolbar to browse your project files.

Step 2: Write an always-on rule — learning.md
Your first rule helps agents capture project-specific knowledge — naming conventions, transformation patterns, documentation requirements — so they apply them consistently across every conversation.
Make sure these settings are configured at the bottom of the Otto panel before sending your prompt:
- Attach a runtime — click + Runtime and select your Workspace. You should see your Workspace name appear once it's selected, indicating where Otto is working. This will also start your Workspace if it's been snoozing.
- Web browsing — click the globe icon so it's highlighted (blue). This lets Otto fetch live data from APIs.
- Auto-run queries — click the play icon (▶▶) so it's highlighted. This lets Otto run queries and flow runs without waiting for your manual approval each time.

Ask Otto to create it
Open a new Otto chat thread and paste the following prompt:
Create an always-on Otto rule file at otto/rules/learning.md.

This rule should prompt you to reflect on conversations and add or update rule files with any new knowledge using context engineering best practices.
What to look for
After Otto creates the file, open it in the Files panel and review the structure. You should see:
- YAML frontmatter — the small configuration block between
---lines at the top of the file. It tells Ascend how to treat this rule. - A markdown body with the sections you requested
It will look something like this:
Don't worry about getting every rule right on the first try. The point is to develop a feel for how rules shape Otto's behavior. You can always edit, add, or remove rules as your project evolves.
Step 3: Write scoped rules
Now you'll create two scoped rules:
- A glob-scoped rule — triggers based on file name patterns (called "globs"). For example,
*.sqlmatches any SQL file. When Otto is working with a matching file, this rule automatically loads into context. - A keyword-scoped rule — triggers when specific phrases appear in your prompt. For example, a rule scoped to "optimizing machine scheduling" only loads when you mention that phrase.
This keeps detailed guidance out of unrelated conversations, reducing noise in the context window.
Part A: Code standards (glob-scoped)
Create a glob-scoped Otto rule at otto/rules/code_standards_python.md that applies
to Python files (*.py). It should enforce these standards:

1. Every function must have a docstring describing its purpose
2. Use type hints for all function parameters and return values
3. Use descriptive variable names — no single-letter variables except loop counters
4. Handle errors explicitly with try/except blocks — never silently swallow exceptions

Use the standard otto rule YAML frontmatter with globs for *.py files.
What to look for
Open otto/rules/code_standards_python.md in the Files panel. You should see:
- YAML frontmatter with
alwaysApply: falseand aglobsfield containing"*.py" - A markdown body with the Python standards you specified
---
otto:
  rule:
    alwaysApply: false
    description: ...
    globs:
      - "*.py"
---
The code standards rule fires based on the glob pattern. It does not fire if you're just chatting with Otto about a concept or working with YAML or SQL files. This keeps the context window clean and focused on the user's request.
Part B: Operations scheduling constraints (keyword-scoped)
This is the domain-specific rule that will pay off in Lab 3. Your company runs 125 machines across 5 UK manufacturing facilities, and not all of them can be rescheduled. This rule teaches Otto the constraints so you don't have to repeat them in every prompt.
What to look for
Open otto/rules/operations_scheduling.md in the Files panel. The frontmatter should have keyword scoping — look for a keywords array that lists the terms that trigger this rule:
---
otto:
  rule:
    alwaysApply: false
    description: Scheduling constraints for carbon-optimized operations
    keywords:
      - optimal operations windows
      - rescheduling machine operations
      - optimizing machine scheduling
---
Unlike the glob-scoped rule (which matches file patterns like *.py), keyword-scoped rules match on words in your prompt. When you mention these phrases in a prompt, Otto automatically pulls in this rule. When you're chatting about something unrelated — like code formatting or API design — this rule stays out of the context window.
As your rules library grows, keyword and glob scoping becomes essential. Without it, every rule would be stuffed into every conversation, eating up context that could be used for your actual request. Think of scoping as a way to give Otto deep expertise in many areas without cluttering the context window with irrelevant rules.
Step 4: Create a learning command
Now you'll create a custom command that anyone on your team can run to force Otto to reflect on the current conversation and update the project's rules with anything new it has discovered.
Custom commands are a way to package reusable prompts that your team can invoke by name. Think of them as saved workflows that trigger a specific agentic behavior.
Ask Otto to create the command
Create a custom Otto command called "learning" at otto/commands/learning.md.
When invoked, this command should prompt Otto to review the current
conversation for new patterns, conventions, mistakes, or lessons learned —
then propose creating new rule files or updating existing ones. Each
learning should go into a rule file where it belongs (not all dumped
into one file). Rules should be very concise and to the point and use keyword
scoping as needed. Wait for confirmation before making changes.
The learning command is most powerful when used habitually. After any conversation where you corrected Otto or established a new pattern, you can execute this command by telling Otto run @command/learning.md. Over time, your rules become a rich, project-specific knowledge base that makes Otto better with every interaction.
Step 5: Create a custom agent (optional)
Custom agents let you define an entirely different persona with its own instructions, model settings, and tool access. Unlike rules (which augment Otto's default behavior), an agent replaces Otto's default instructions with your own.
You're going to create a Data Quality Agent — a specialized persona that validates your operations data before it enters the optimization pipeline. Bad data in means bad recommendations out, so this agent acts as a quality gate: checking freshness, completeness, schema consistency, and domain-specific constraints.
Ask Otto to create it
Create a custom Otto agent at otto/agents/data_quality_agent.md.

This agent should:
- Be named "Data Quality Agent"
- Use a low temperature (0.1) for consistent, precise validation
- Have access to all tools

Its instructions should tell it to:
1. Act as a data quality analyst, not a pipeline builder
2. Inspect components in a flow ensuring that data is fresh and complete and schema is consistent.
3. Check code for effective data quality tests.
4. Produce a clear report of any issues identified or recommendations for improvement.
Use the agent
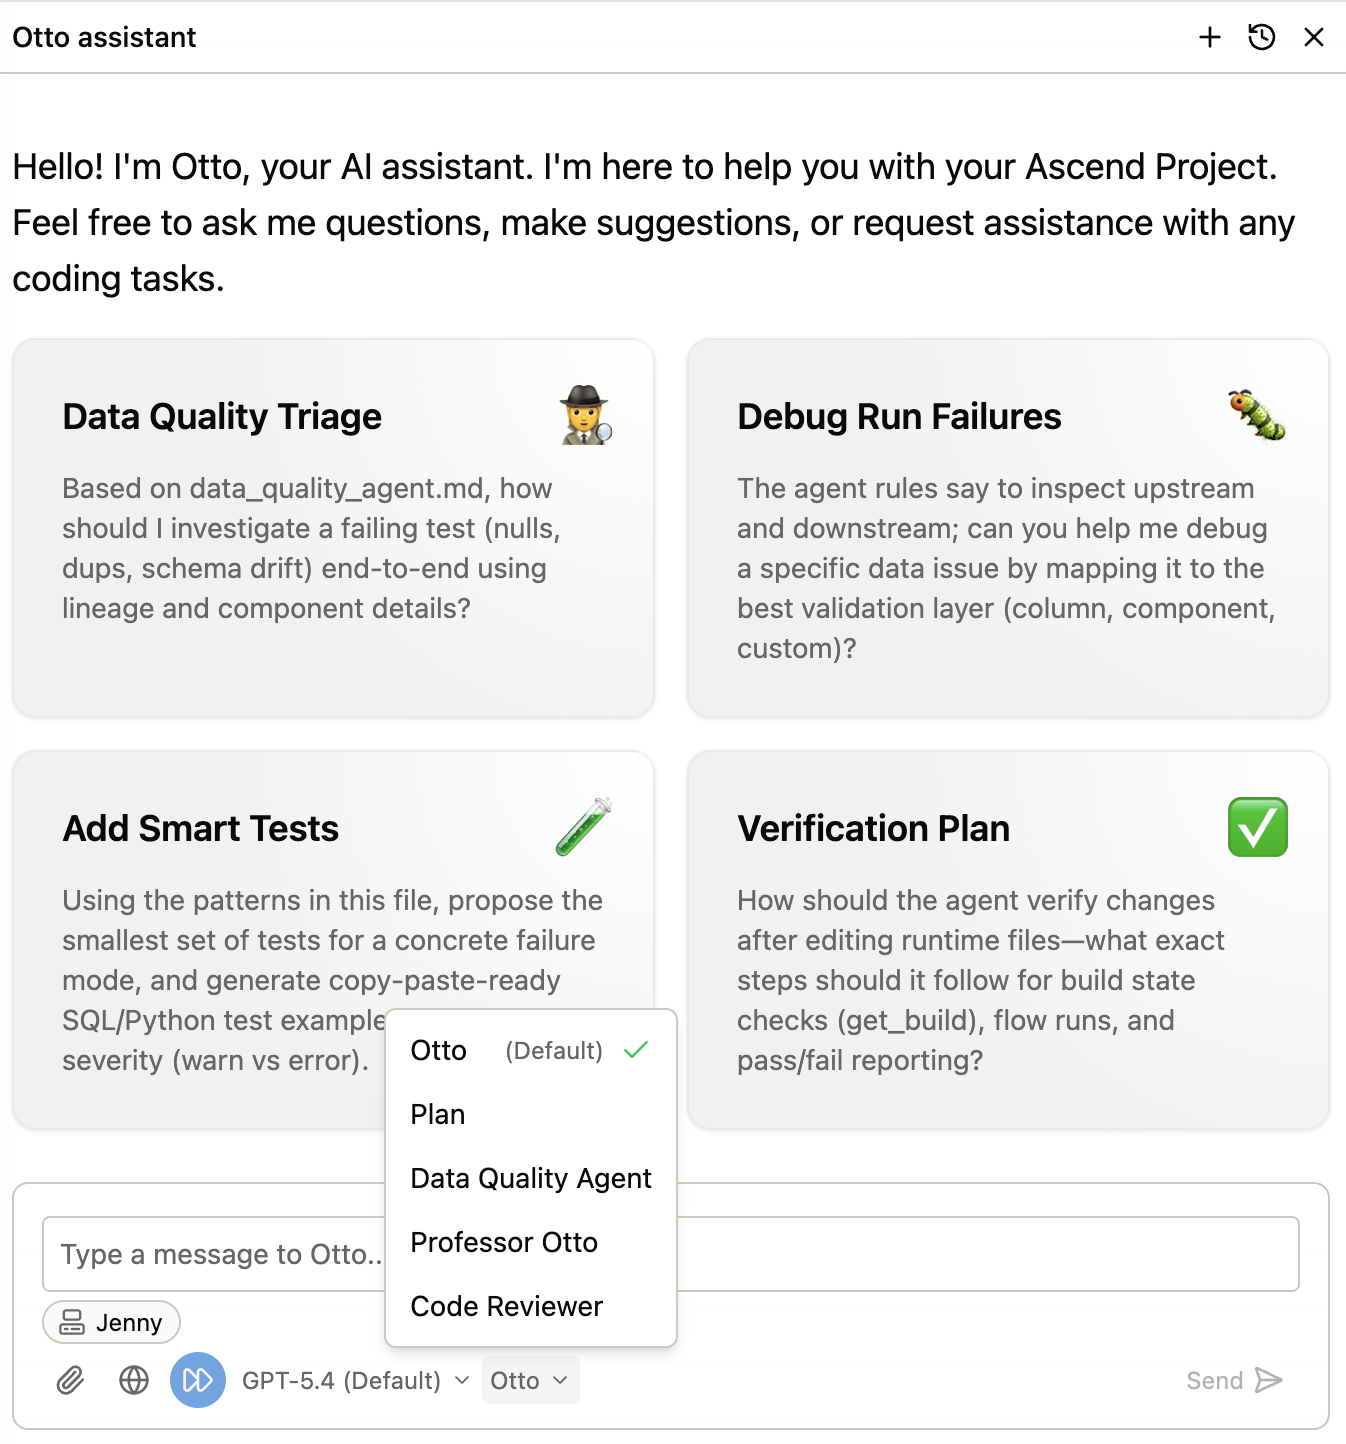
To switch to your custom agent:
- In the Otto chat panel, click the agent selector at the bottom of the chat panel (it says Otto by default).
- Select Data Quality Agent from the list.
- Start a new conversation — the agent now uses your custom instructions.
Try it out with a quick test:
Check out the Sales flow and report back on any data quality issues or recommendations for improvement.
Step 6: Connect an MCP server (optional)
Misconfigured MCP server configurations will cause Otto to not work as expected. Ensure your MCP servers are properly configured and tested.
MCP (Model Context Protocol) servers extend Otto's capabilities by connecting it to external tools and services — Slack, GitHub, PagerDuty, and more. This is how you wire Otto into your existing tool stack.
Setting up an MCP server is beyond the scope of this lab, but you can follow the step-by-step tutorial to connect Slack:
Set up Slack via MCP for alerts & more
Once connected, you can combine MCP servers with the rules and agents you built in this lab. For example, your Data Quality Agent could post validation reports to a Slack channel, or the learning command could notify the team when the knowledge base is updated.
Congratulations!
You've built a programmatic agentic harness — a set of rules, commands, and agents that shape how Otto works in your project. Here's what you created:
- An always-on rule (
learning.md) that gives Otto persistent project knowledge - A glob-scoped rule (
code_standards_python.md) that enforces code quality when working with Python files - A keyword-scoped rule (
operations_scheduling.md) that teaches Otto the constraints for carbon-optimized scheduling - A custom command (
run @command/learning.md) that forces Otto to reflect and update its knowledge base - (Optional) A custom agent (
data_quality_agent.md) — a Data Quality Agent that validates operations data before it enters the optimization pipeline
This harness is the foundation for Lab 3, where you'll build the full carbon + operations pipeline and wire up automation so it runs and recovers on its own.
Next steps
Continue to Lab 3: Agentic Automation to build the pipeline, schedule it, and wire up automated responses.
Resources
- Custom rules documentation
- Custom agents documentation
- Agent configuration
- MCP servers
- Set up Slack via MCP
Questions?
Reach out to your bootcamp instructors or support@ascend.io.