Hands-On Session #1: Working with Agents
In this lab we'll get started on the Ascend platform to understand how the architectural frameworks we've discussed come together in an agentic platform. We'll also work with Ascend's AI agent, Otto, to build your first data pipeline.
Step 1: Sign up for a free trial
The Ascend free trial lasts for 14 days or 50 Ascend Credits, whichever comes first. To continue using Ascend beyond these limitations, you can select a plan to subscribe to. If your limits are reached, the Instance will be locked — you can still subscribe to a plan at this point to unlock and continue using Ascend.
Go to https://app.ascend.io/ and click Start Your Free Trial.
Sign up with Google, LinkedIn, Microsoft, or GitHub, or use an email address and password.
If you sign up with an email address and password, check your email for a verification message from support@ascend.io.
Email support or ask a bootcamp instructor for help if you do not receive the verification email within a few minutes.
Step 2: Complete onboarding
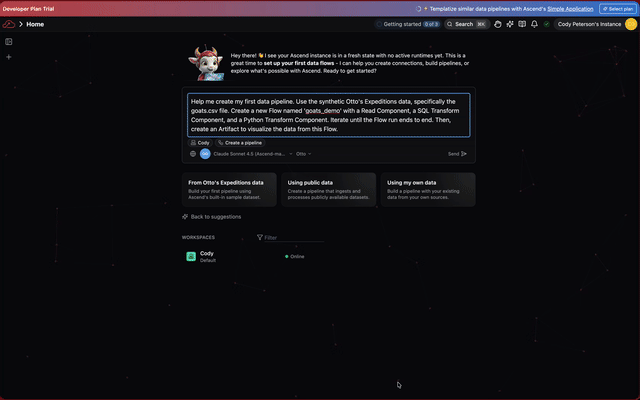
Once signed in, you'll see the onboarding experience. Follow the prompts to let Otto build your first data pipeline.
When asked how would you like to get started, select Start with Otto's Expeditions.
If you've already started a trial of Ascend, you can skip the steps above and navigate to your Workspace.
You can also copy/paste this prompt:
Help me create my first data pipeline. Use the synthetic Otto's Expeditions data, specifically the `goats.csv` file. Create a new Flow named `goats_demo` with 3 components:
- a file reader
- a SQL Transform
- a Python Transform

Iterate until the Flow run ends to end.

Then, create a visualization for me to explore the data.
Watch Otto work!
Otto may make mistakes along the way! We recommend letting him iterate and fix issues on his own; agentic development loops tend to converge toward success. You'll end up with a working data pipeline you can visualize, explore, and build on.
Here's what's happening under the hood:
-
Otto receives a prompt to build a data pipeline, which acts as a Trigger for the agent to begin working.
-
It gathers Context from the prompt itself as well as the Workspace and Project, looking at existing files and resources to build the pipeline. Context also includes system instructions and rules that define Otto's behavior and capabilities. To see how this context comes together, you can view this example prompt trace.
-
Otto has access to a Tool set of functions that can be used to build the pipeline. In this case, Otto uses functions to read, create, and edit files in the Workspace. It also uses functions to run pipelines, query data, and build visualizations, and more. Tools are what enable agents to not just understand the context of the user's request, but also to take action on it.
Additionally, you can give agents access to external tools and services via the MCP servers, empowering agents to work across your tool stack from GitHub to Slack to Grafana to PagerDuty and more.
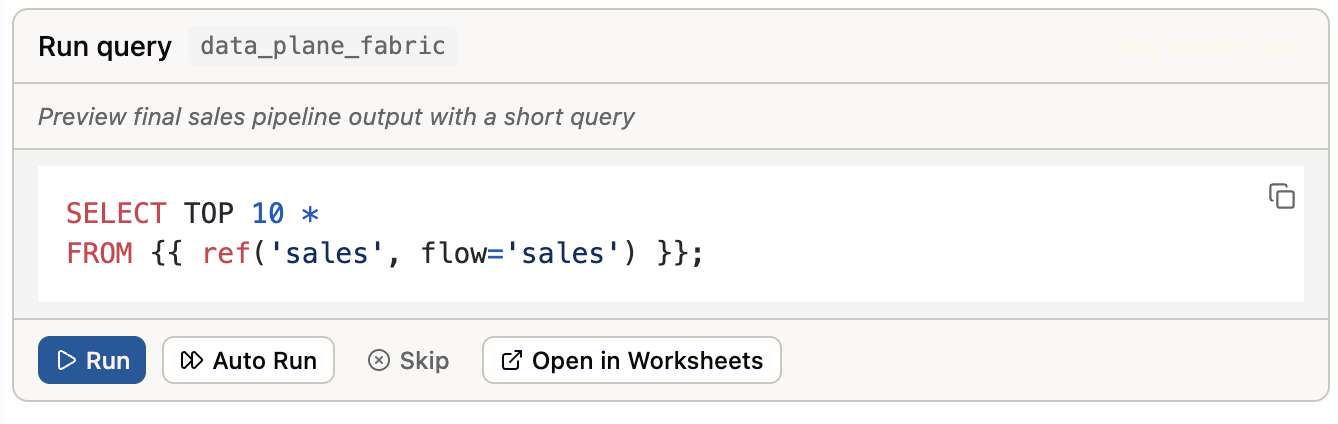
Otto has the ability to query the data in your data warehouse. This ability gives Otto additional context to build the pipeline and the visualizations you'll create. As a guard rail, all queries must be approved by the user.You can approve queries by clicking the Run button on the query frame.
 Alternatively, you can turn on Auto-approve queries by clicking the double arrow icon at the bottom of the Otto chat window.

More prompts to try
Here are some more prompts you can try after Otto creates your first data pipeline.
Navigate me to my Workspace.
What tools do you have access to?
Give the artifact a dark mode switcher.
Email me a link to the artifact.
Explain how I'd automate this pipeline on a schedule and deploy it to production in Ascend.
Step 4: Tour the platform
Now that Otto has built your first pipeline, let's explore the key areas of the Ascend platform.
Otto - Your AI data engineering agent
Otto is the AI agent that helps you build your data pipelines. You can access Otto from the homepage, by clicking the sparkles icon in the top right of your screen, or by using the Ctrl + I keyboard shortcut.
You can customize agentic output in Ascend by leveraging Agents, Commands, Rules, and MCP server connections that you configure in the otto/ directory of your project. Click the Files icon in the left tool bar to view all your files. Then find and explore the otto/ directory.

Rules are basic markdown files that give agents dynamically injected instructions — think of them as a team playbook that guide actions and outputs. Commands are basic markdown files you can use as reusable prompts. Agents are custom agents that replace or extend default behavior from system instructions, enabling you to test and refine your own agentic behavior. MCP server connections are used to connect AI agents to external services like Slack, GitHub, and more.
Tomorrow's data engineering breakout lab will cover how to build and deploy custom rules and agents to hone agentic behavior.
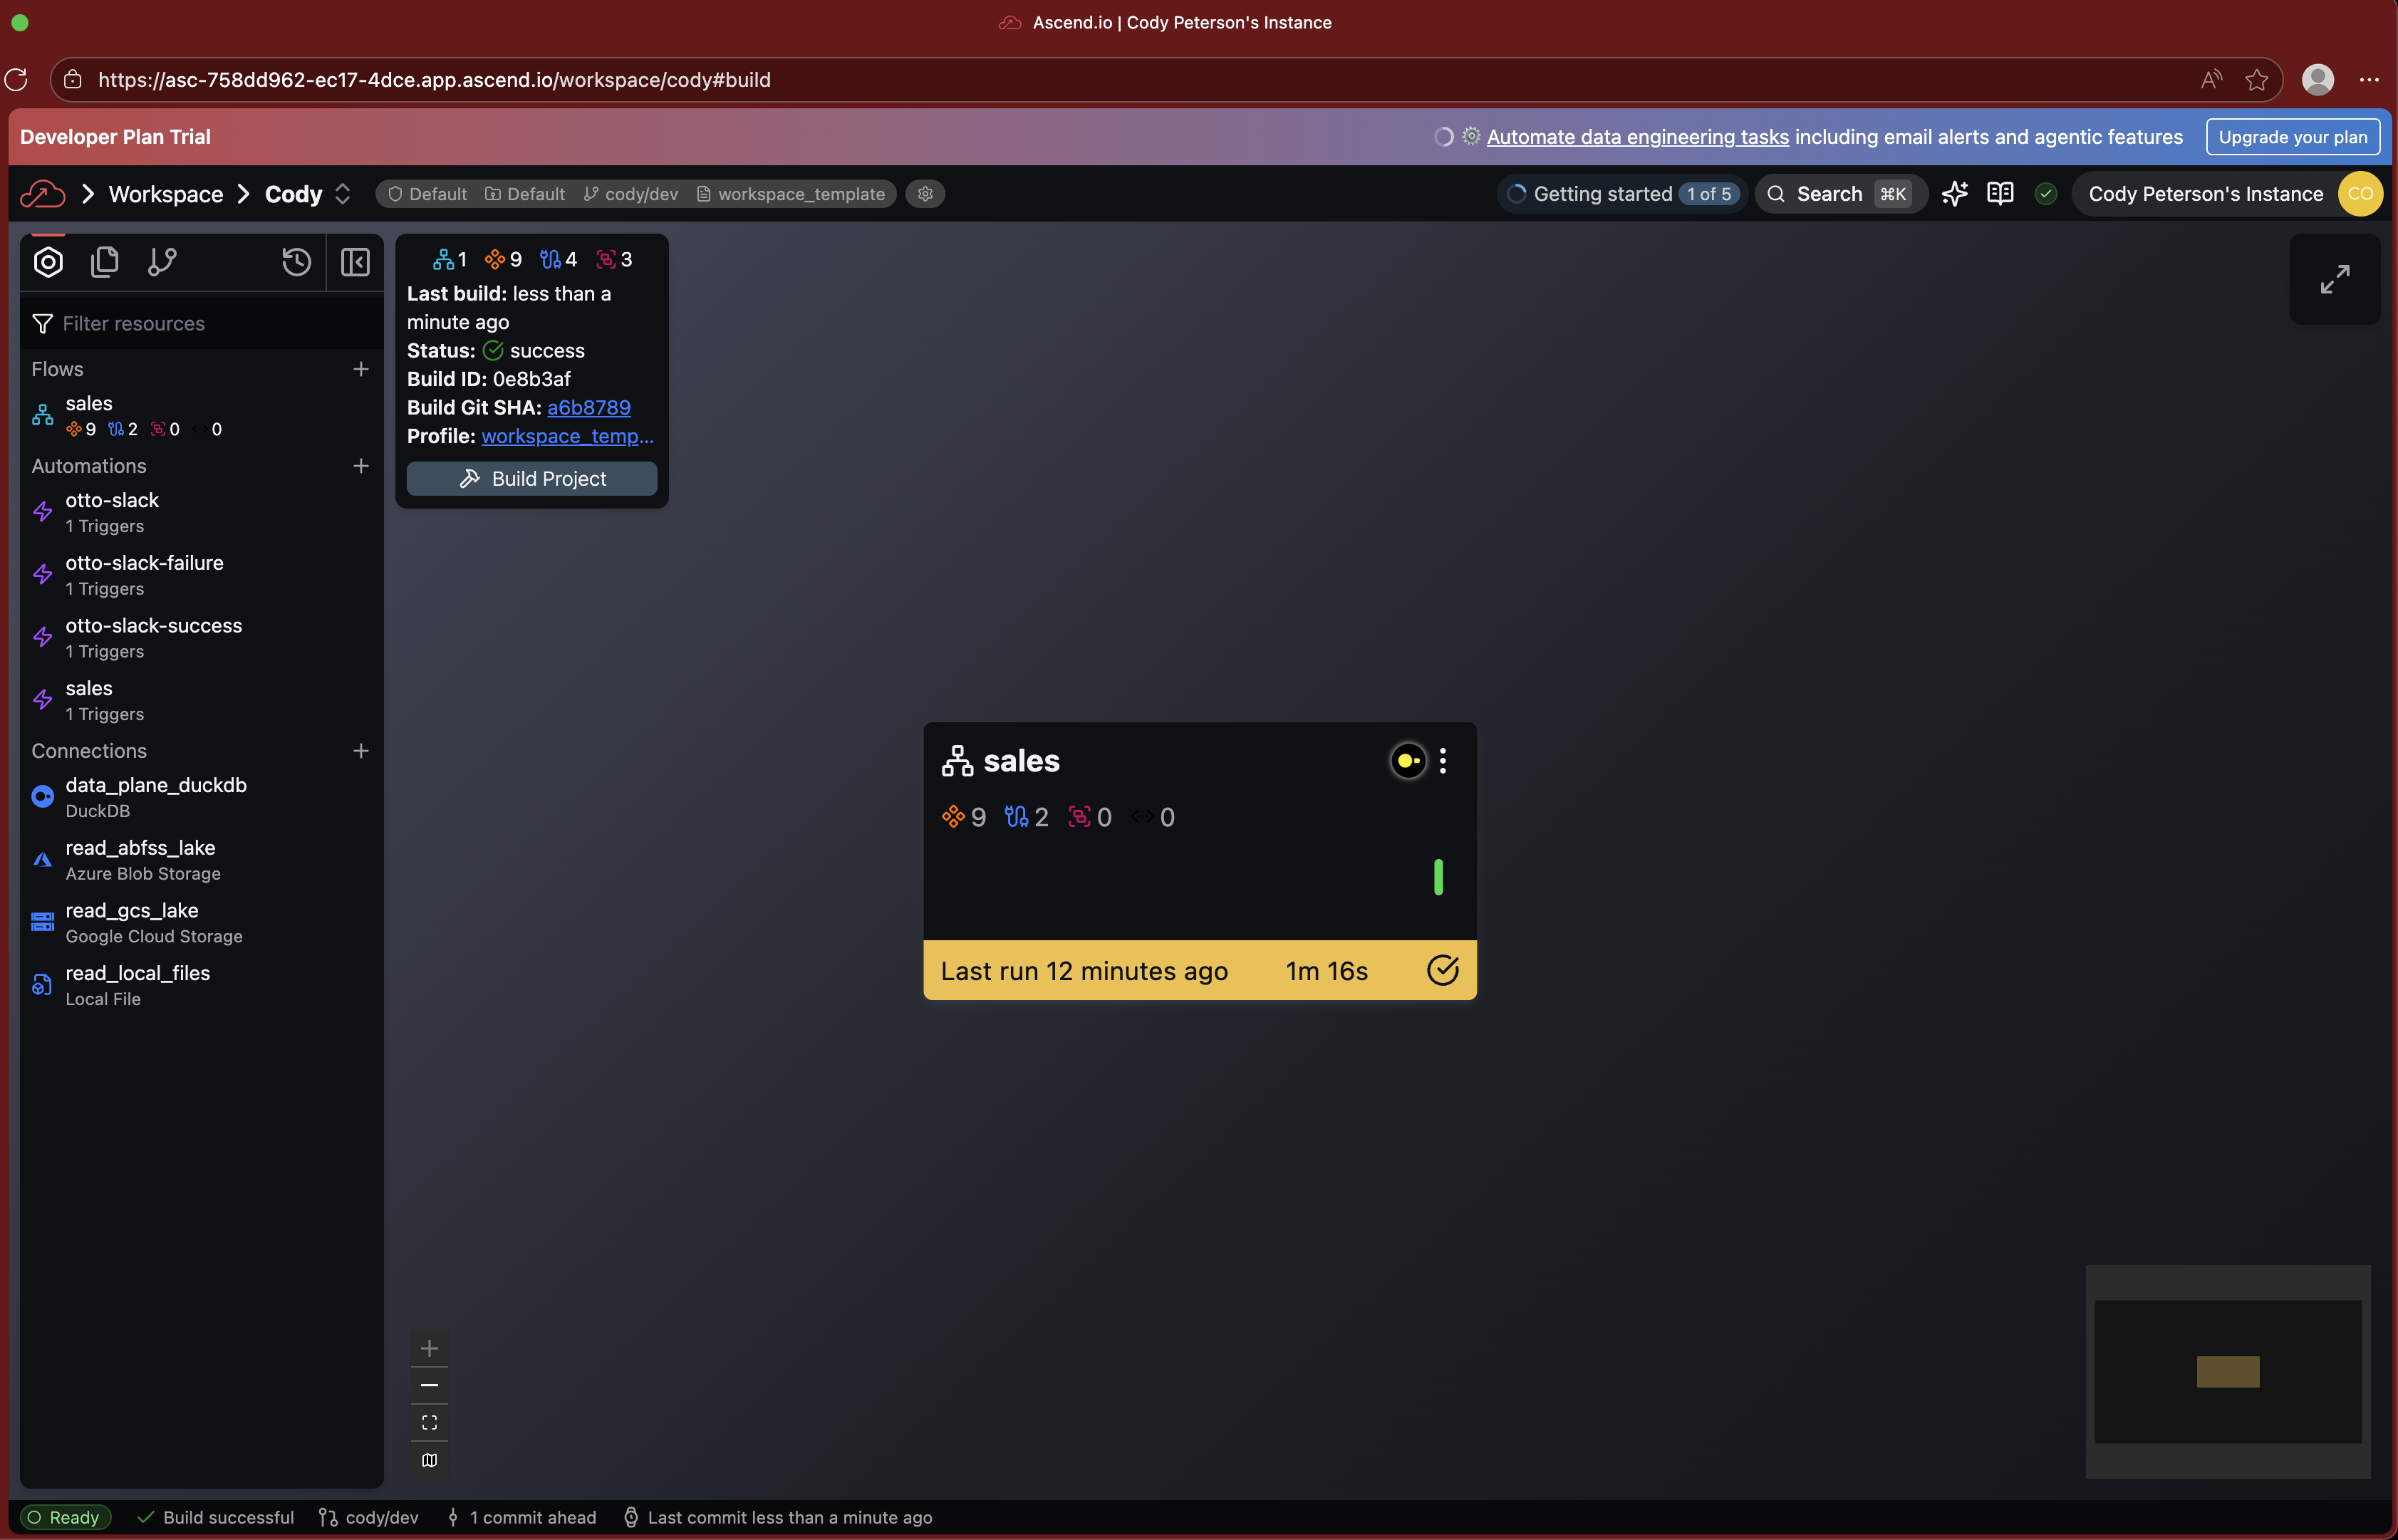
Workspaces
The Workspace is your central hub for building and managing your data pipelines. From here you can:
- Build - Create and manage Flows
- Test - Run your Flows and Components in a development environment
- Deploy - Deploy data pipelines to run in production
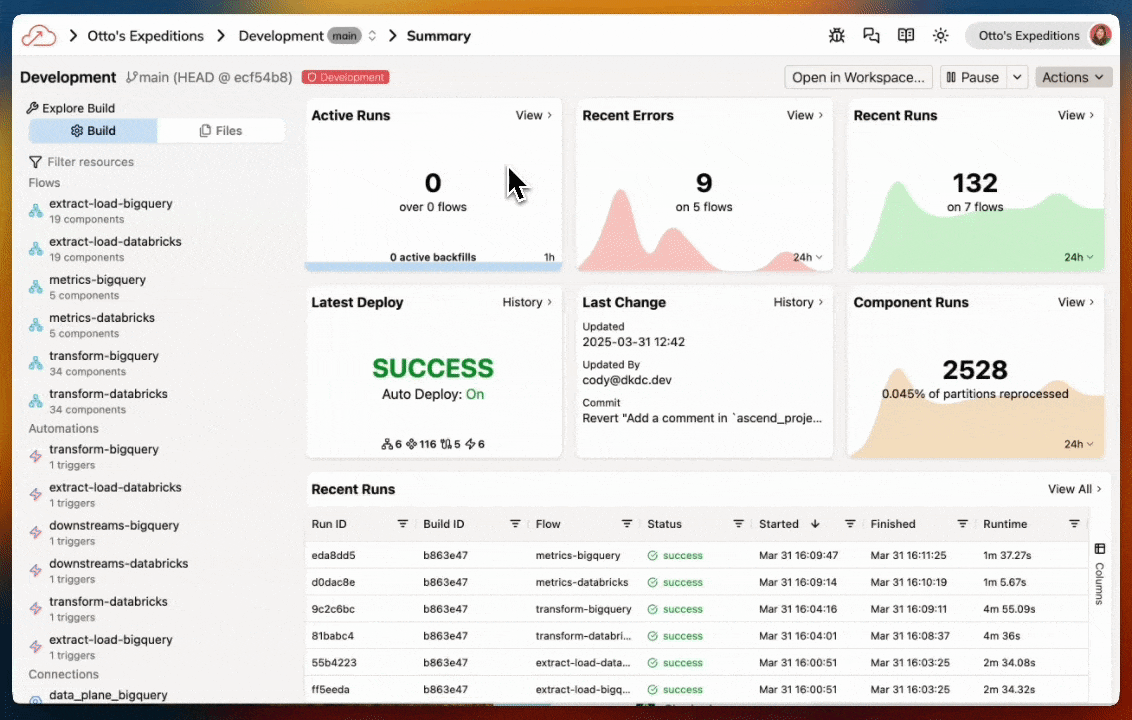
Super Graph
The Super Graph is your high-level view of all Flows in your Workspace. From here you can see:
Double-click on any Flow to drill into its Flow Graph.
Flow Graph
The Flow Graph shows all Components within a single Flow:
- Read Connectors - Ingest data from external sources
- Transforms - Process and transform data using SQL or Python
- Write Connectors - Send data to external destinations
- Task Components - Run custom code using Python or SQL

Click on any Component to view the code, run history, and data.
Toolbar
The Toolbar on the right side of your screen provides quick access to:
- Resources - Browse all resources in your Workspace
- Files - View and edit configuration files
- Worksheets - Run ad-hoc SQL queries
- Build - Monitor build status and logs
Deployments
Deployments are used to run your data pipelines in production. They operate on a different branch of your Git repository and write to a different environment in your data warehouse. This allows you to test and validate your data pipelines in a development environment before deploying them to production.
Your new trial Instance of Ascend does not include a Deployment by default. If you would like to deploy your pipeline to run on a schedule or trigger agentic automations, you can do so by creating a Deployment and merging your changes from the Workspace to the Deployment.
Settings
Access the Settings menu by clicking your profile icon in the top right corner of your screen. It allows you to manage your account, Workspace, and preferences.
Navigation tips
- Use
Cmd+K(Mac) orCtrl+K(Windows) to quickly search and navigate anywhere in the platform - Use
Ctrl+Ito open Otto chat from anywhere
Congratulations! You've successfully completed Hands-On Session #1!
By the end of this session, you should have:
- Created an Ascend account
- Signed in to the platform
- Built your first data pipeline with Otto
Ask a bootcamp instructor or reach out in the Ascend Community Slack.
Next steps
Continue to the Breakout Session with Snowflake, BigQuery, or MotherDuck to learn about how to leverage AI within these platforms. You'll also connect Ascend to your data warehouse to run your data pipelines and store the data there.