Breakout: Snowflake
Connect Ascend to Snowflake to run your data pipelines on the Snowflake Data Cloud.
In this session, you'll set up a Snowflake trial (if needed), create Snowflake resources, and configure a Snowflake Data Plane Connection to run your pipelines. You'll also leverage Snowflake's AI capabilities to improve your existing flow.
Prerequisites
Before you begin, ensure you have:
- Completed Hands-On Session #1
- If you'd like to use your own Snowflake account, you'll need a Snowflake account with permissions to create databases, warehouses, users, and roles
You can sign up for a free Snowflake trial which includes $400 in credits and access to Snowflake's features.
You need permissions to create databases, warehouses, users, and roles in Snowflake. If you're using a trial account, you'll have these permissions by default.
Step 1: Sign up for a Snowflake trial
If you don't already have a Snowflake account, follow these steps to get started with a free trial.
Skip ahead to Create Snowflake resources.
Create a Snowflake account
- Go to signup.snowflake.com
- Fill out the required information:
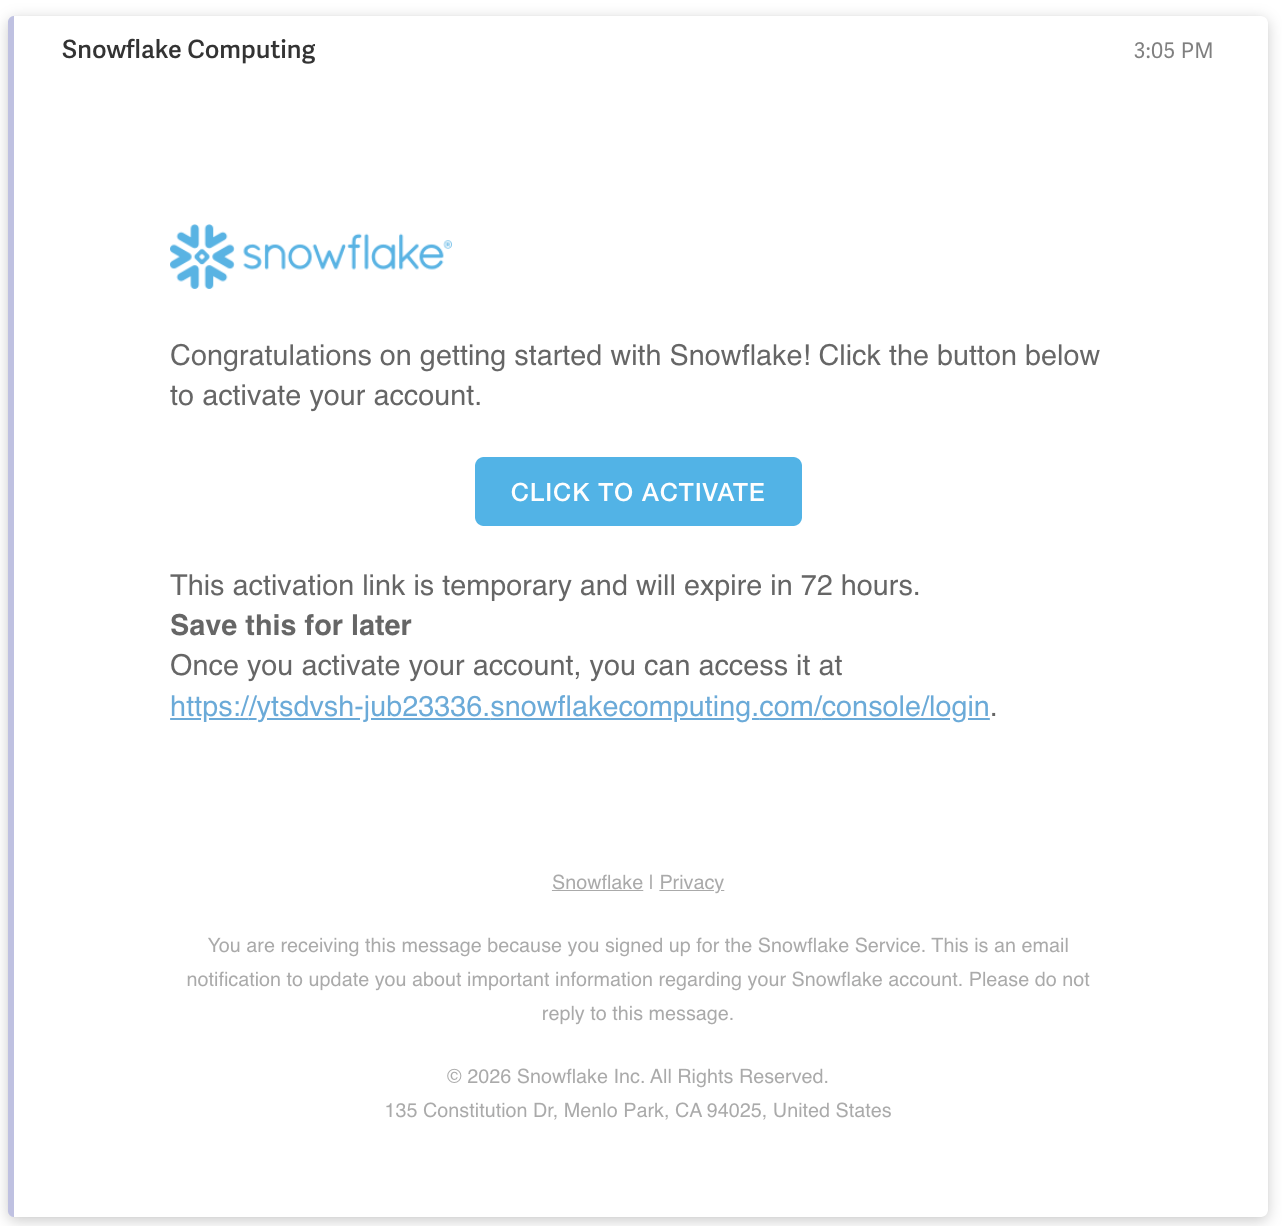
- Check your email for a verification email and click the link to activate your account
-
Set a username and password for your Snowflake account to log in and access the Snowflake console
-
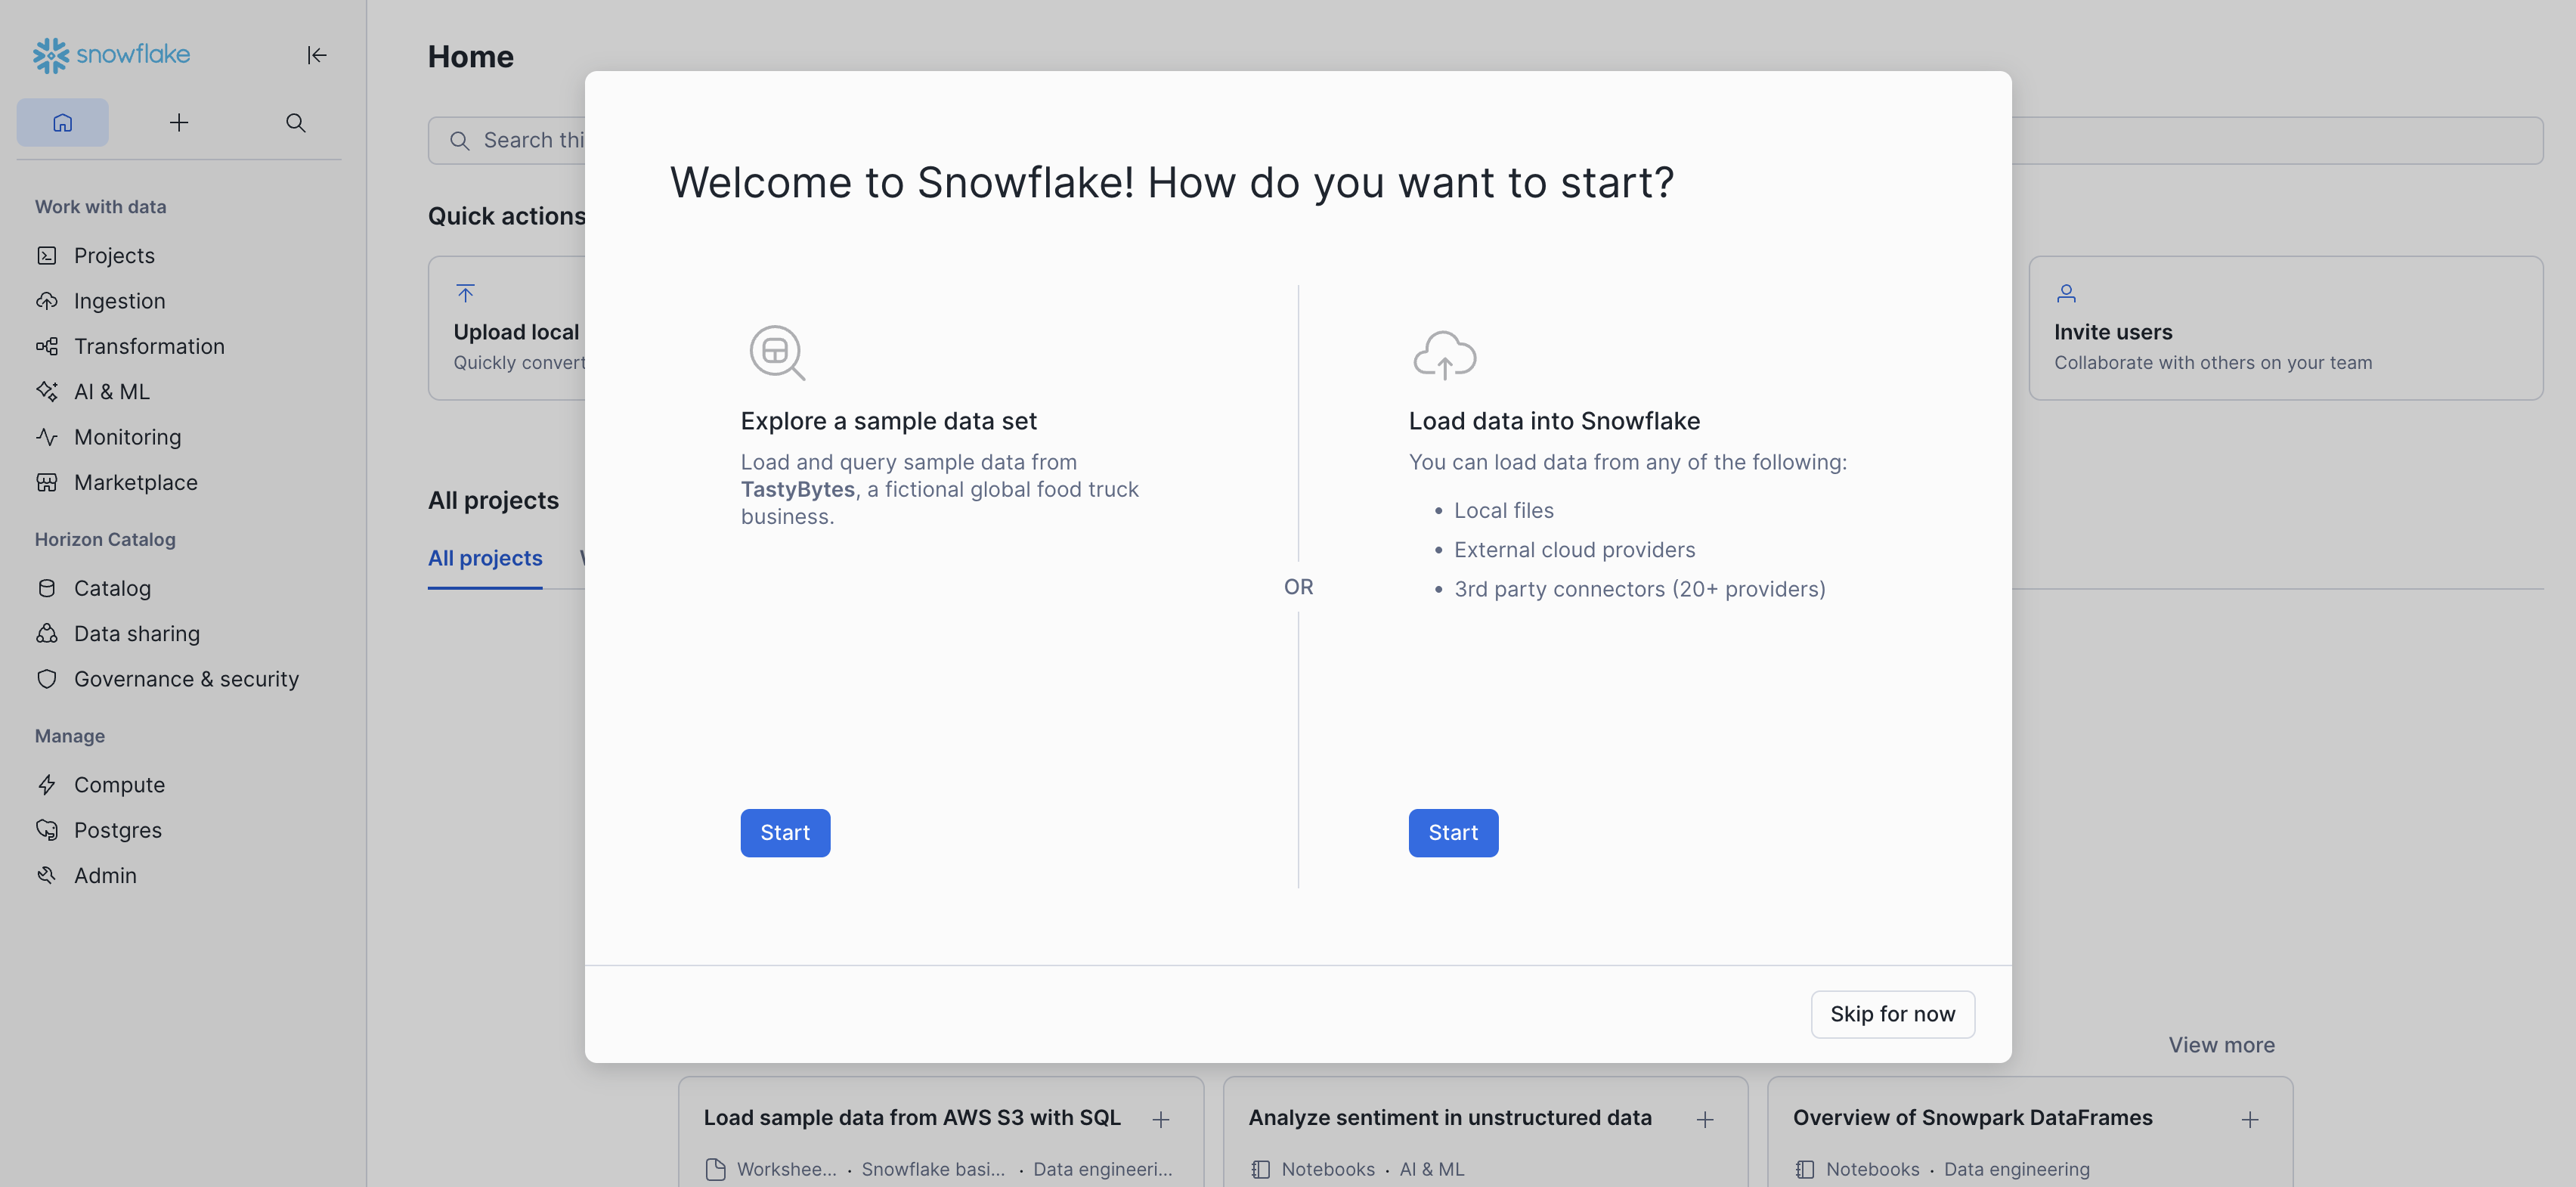
Click Skip for now to skip the optional setup steps
Your free trial includes $400 in credits valid for 30 days. Snowflake also has a permanent free tier with limited compute credits.
Step 2: Create Snowflake resources
You'll need to create a database, warehouse, user, and role for Ascend to use. You can do this through the Snowflake UI or using your terminal.
Generate RSA Key Pair
Run the following commands in your terminal:
This quickstart uses macOS-specific commands like pbcopy for copying text to the clipboard. If you're using a different operating system, adjust the commands accordingly:
- Windows: Use
clipinstead ofpbcopy - Linux: Use
xclip -selection clipboardorxsel --clipboard --inputinstead ofpbcopy
# Generate private key
openssl genrsa 2048 | openssl pkcs8 -topk8 -inform PEM -out rsa_key.p8 -nocrypt

# Generate public key
openssl rsa -in rsa_key.p8 -pubout -out rsa_key.pub

# Copy the public key
cat rsa_key.pub | pbcopy
Refer to the Snowflake documentation for more details.
Create Snowflake resources
Ascend recommends creating dedicated Snowflake resources for your Ascend workloads to ensure proper resource isolation. However, if you cannot create new resources or prefer to use an existing one, you can skip this step.
Additionally, this quickstart grants elevated permissions for the sake of simplicity.
The following script creates a Snowflake service user (via key-pair authentication), warehouse, database, schema, and role. These resources correspond to the existing Ascend Production Environment that comes with your trial Instance.
Run the following in Snowflake:
Replace <PASTE_YOUR_PUBLIC_KEY_HERE> in the SQL code below with the RSA public key you generated in the previous step.
Store your Snowflake private key
Store your Snowflake private key as an Environment Vault secret to securely configure your Snowflake Data Plane:
-
Run this command in your terminal to copy your Snowflake private key (including the BEGIN/END lines):
noteEnsure your private key is in a
.pemformat.cat rsa_key.p8 | pbcopy -
In your Ascend Instance, click on your profile picture in the top-right corner and select Settings
-
Navigate to the Secrets & Vaults section
-
Select the Default Environment Vault
-
Click Add secret
-
Name your secret
SNOWFLAKE_PRIVATE_KEYand paste the key in the Value field -
Click Create to store your secret
Step 4: Create a Snowflake Connection in Ascend
Now let's connect Ascend to your Snowflake account. Navigate to your Workspace in Ascend and choose your preferred method:
- Ask Otto
- Use the UI
- Create a file
Open Otto and ask:
Please help me create a Snowflake Connection in Ascend.
Otto will create a form for you to fill out with the details of the the Connection configuration including the account identifier, database, schema, warehouse, user, and password.
Vaults & Secrets are used to store sensitive information like your Snowflake password. When otto gives you a form to fill out the secret value is stored directly in your Ascend-managed Vault. This allows you to securely reference the secret in your Connection configuration. Otto is never given the secret value itself.
Once you have filled out the form, click Submit to create the Connection.
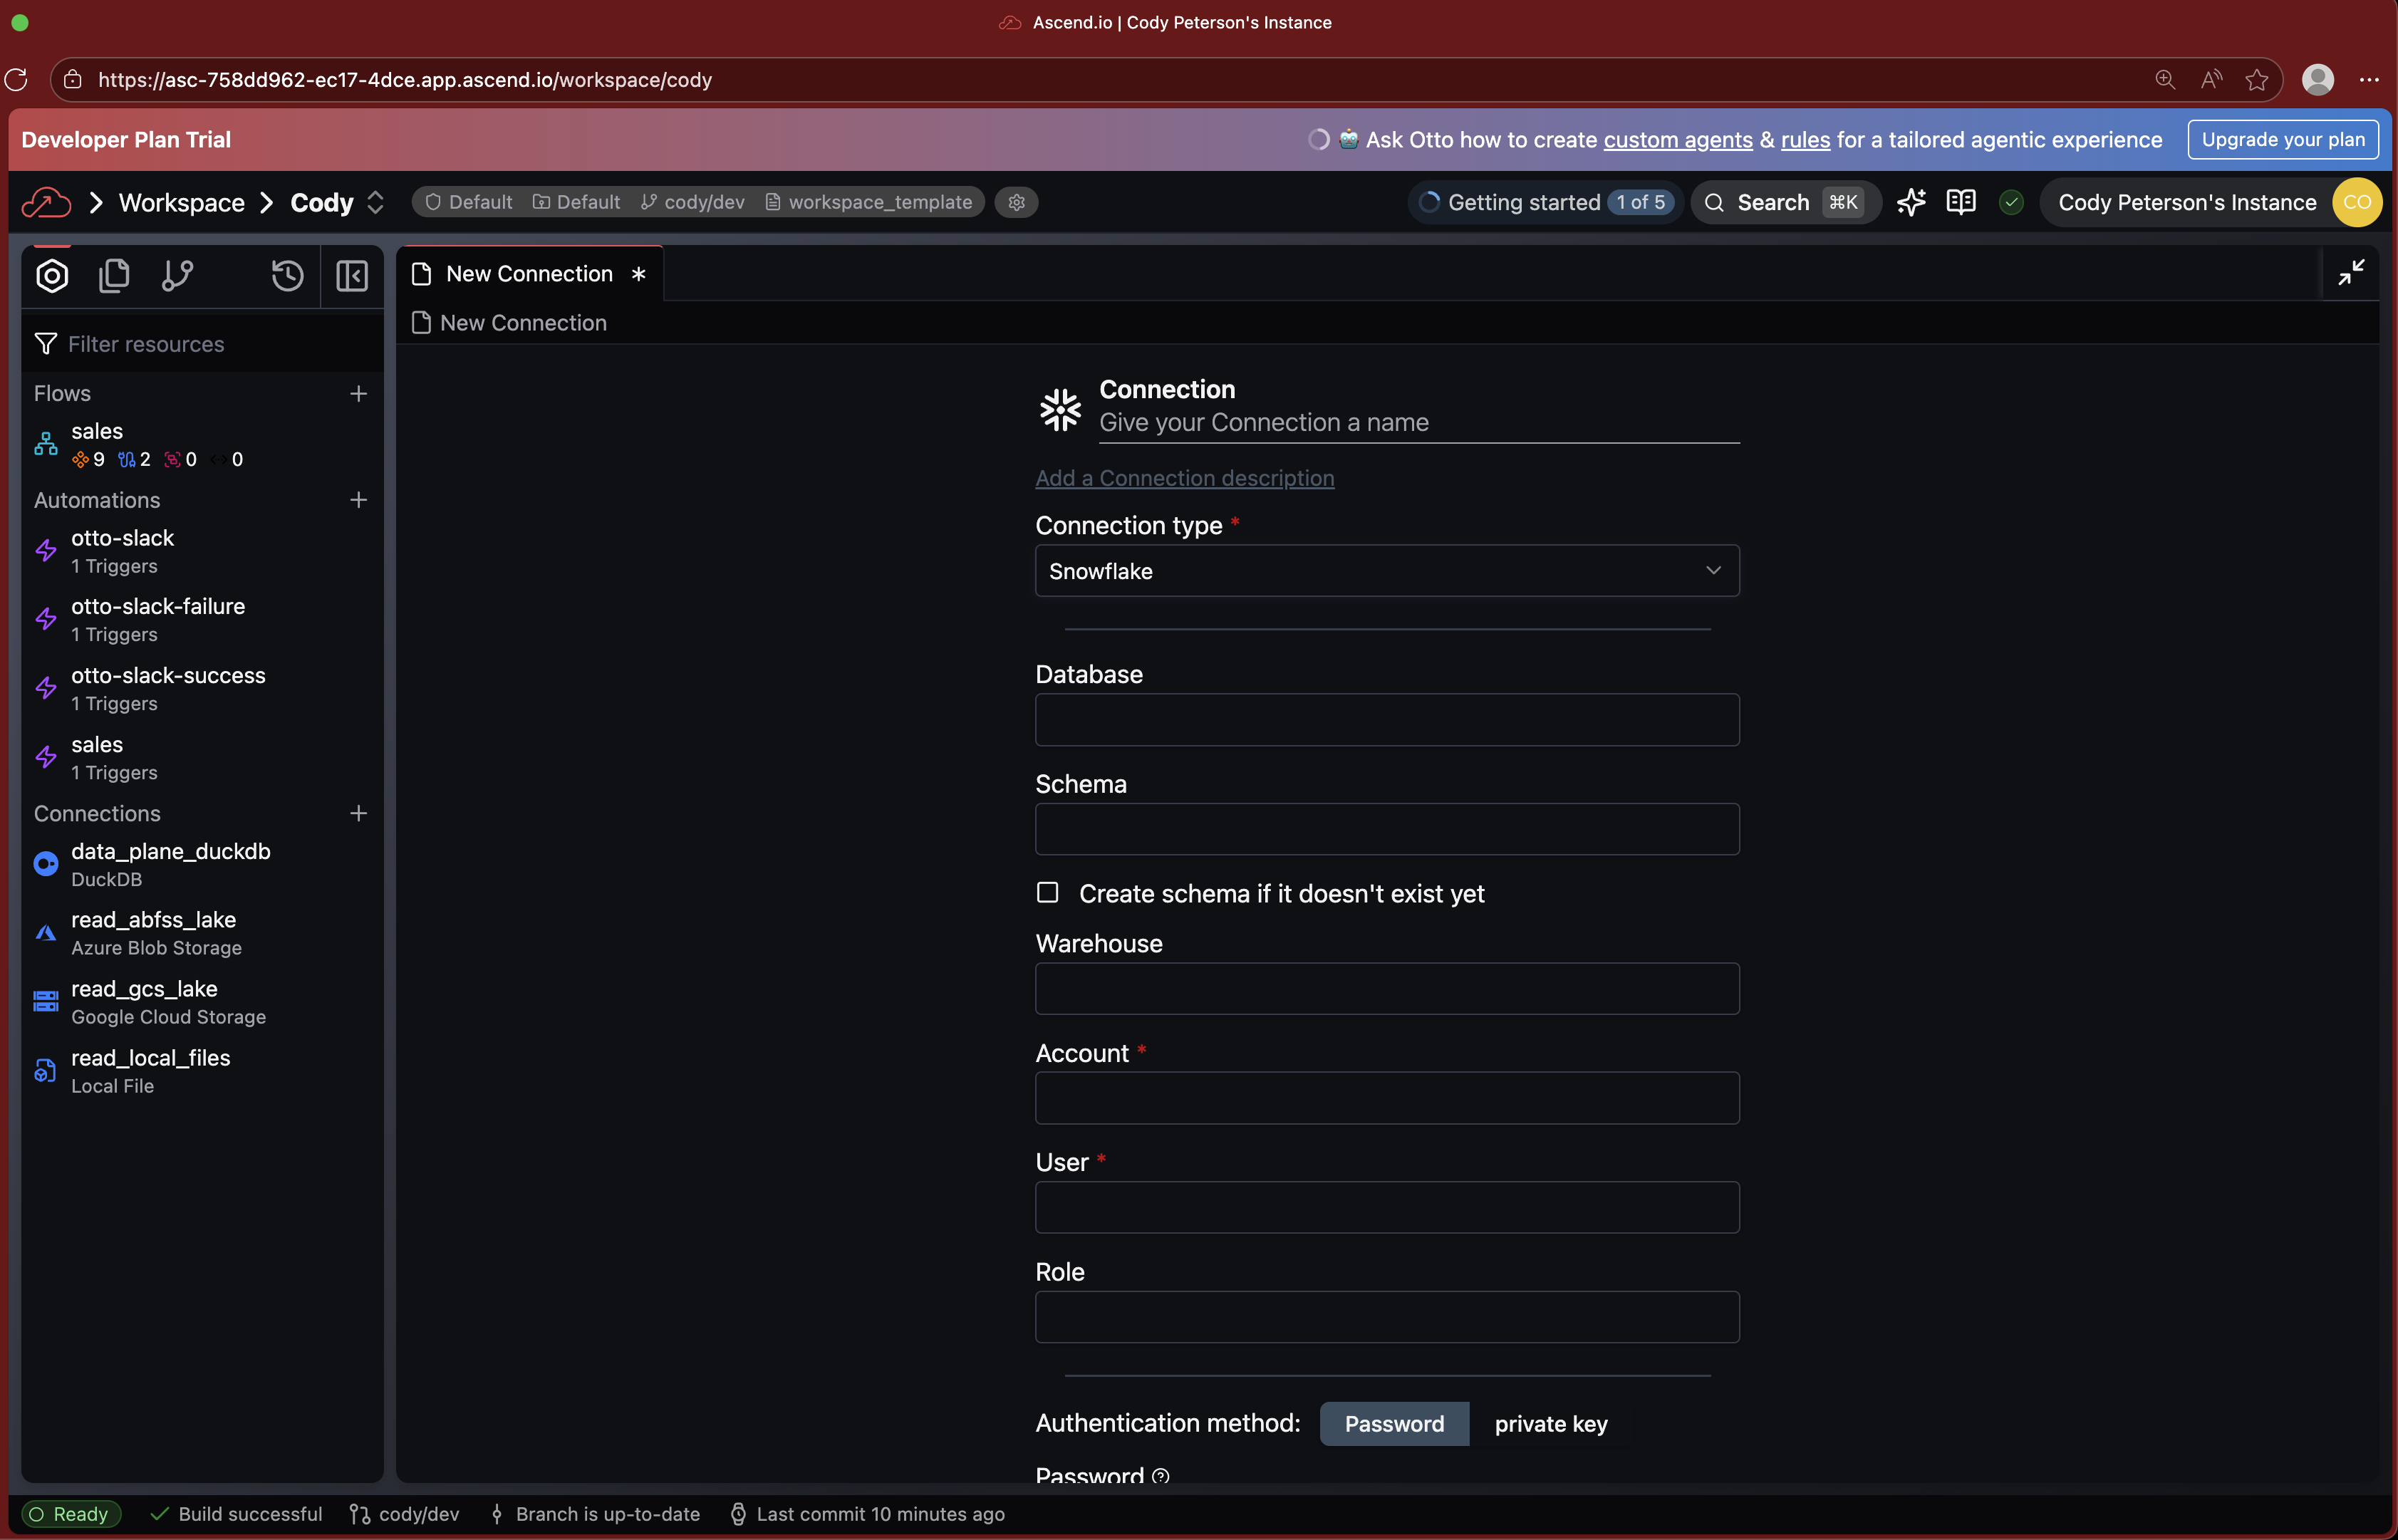
- Navigate to your Workspace in Ascend
- From the Super Graph, click the + button next to Connections
- Select Snowflake as the connection type
- Fill in the connection details:
- Name:
data_plane_snowflake - Account: Your Snowflake account identifier (e.g.,
xy12345orxy12345.us-east-1) - Database:
ASCEND_BOOTCAMP - Schema:
PUBLIC(or your custom schema name) - Warehouse:
ASCEND_BOOTCAMP - User:
ASCEND_BOOTCAMP - Password: Select
SNOWFLAKE_PASSWORDfrom the vault dropdown (or enter${vaults.environment.SNOWFLAKE_PASSWORD})
- Name:
- Click Test Read Connection to verify it works
- Save the connection
If you don't see the Connections section, you may be in a Flow Graph. Use Cmd+K to search for "Super Graph" and navigate there.
Your Snowflake account identifier can be found in the URL when you log in to Snowflake (e.g., https://xy12345.snowflakecomputing.com where xy12345 is your account identifier). You may also need to include the region (e.g., xy12345.us-east-1).
Create a file connections/data_plane_snowflake.yaml in your Project:
connection:
  snowflake:
    account: YOUR_ACCOUNT_IDENTIFIER
    database: ASCEND_BOOTCAMP
    schema: PUBLIC
    warehouse: ASCEND_BOOTCAMP
    user: ASCEND_BOOTCAMP
    password: ${vaults.environment.SNOWFLAKE_PASSWORD}
Save the file and Ascend will automatically detect the new Connection.
Step 5: Set Snowflake as the default Data Plane
To use Snowflake for all your Flows, update your project defaults.
You can ask Otto to do this for you:
Set Snowflake as the default Data Plane for all Flows
or do this manually:
- Open the
ascend_project.yamlfile in your Project - Add or update the
defaultssection:
project:
  name: my-project
  defaults:
    - kind: Flow
      name:
        regex: .*
      spec:
        data_plane:
          connection_name: data_plane_snowflake
This tells Ascend to use Snowflake for all Flows by default.
Step 6: Run a pipeline on Snowflake
Let's verify everything is working by running the demo pipeline on Snowflake.
- Navigate to the
salesFlow in your Workspace - Click Run Flow or use Otto to trigger a run
- Watch the pipeline execute on Snowflake
You may notice a syntax error here, because this pipeline was originally written for DuckDB. Let's ask Otto to fix it.
Fix the syntax error in the sales flow and rerun the flow to ensure it works
- Check the data in the Snowflake console to confirm it was written
Step 7: Leverage Snowflake Cortex AI capabilities
Snowflake Cortex provides built-in AI capabilities that can help you with your data. Let's ask Otto for ideas on how to use Snowflake Cortex in this flow:
How can I leverage Snowflake Cortex AI functions in this flow?
Snowflake Cortex includes functions like:
- AI_CLASSIFY - Classify text or images into categories
- AI_EMBED - Generate embedding vectors for similarity search
- AI_SENTIMENT - Analyze sentiment in text
- AI_EXTRACT - Extract information from text, documents, and images
- AI_TRANSLATE - Translate text between languages
- AI_COMPLETE - Generate completions using LLMs
Then ask Otto to implement the ideas you are most excited about
Checkpoint
By the end of this session, you should have:
- A Snowflake account with trial credits
- Created Snowflake resources (database, warehouse, user, role)
- Stored your Snowflake password securely in Ascend
- Created a Snowflake Data Plane Connection in Ascend
- Set Snowflake as the default Data Plane
- Successfully run a pipeline on Snowflake
- Leveraged Snowflake Cortex AI capabilities to improve the flow
Ask a bootcamp instructor or reach out in the Ascend Community Slack.
Next steps
Return to the Bootcamp Overview to continue with Day 2 sessions, or explore more Snowflake features with Otto!
For production deployments, consider:
- Setting up key-pair authentication (see the Snowflake quickstart guide)
- Configuring additional security settings
- Optimizing warehouse sizing for your workloads