Hands-on lab: Building an API Ingestion Pipeline with AI agents


Build and maintain API ingestion pipelines with AI agents.
The pre-built assets for this lab have been removed from the Ascend Community projects. If you'd like to follow along with the original materials, you can find them in this pull request.
The plan
In this lab, we will:
- Sign up for Ascend
- Work with Otto to build an API connector
- Cover authentication and authorization best practices
- Transform ingested data for downstream use
- Talk through next steps for scaling and maintaining your pipeline
Join the Ascend Community Slack for community support.
Part 1: Sign up for Ascend
Go to https://app.ascend.io/signup and fill out the form to start your free Developer plan trial.
You must use a work email address to sign up for Ascend; common personal email domains like @gmail.com and @yahoo.com are disallowed.
Your free trial lasts for 14 days and includes full access to Ascend! If you'd like to request an extension or a business trial, email sales with your use case.

Check your email inbox for a message from Ascend support (support@ascend.io).
Ask live or email support later for help if you do not receive the verification email within a few minutes or encounter any issues during onboarding.
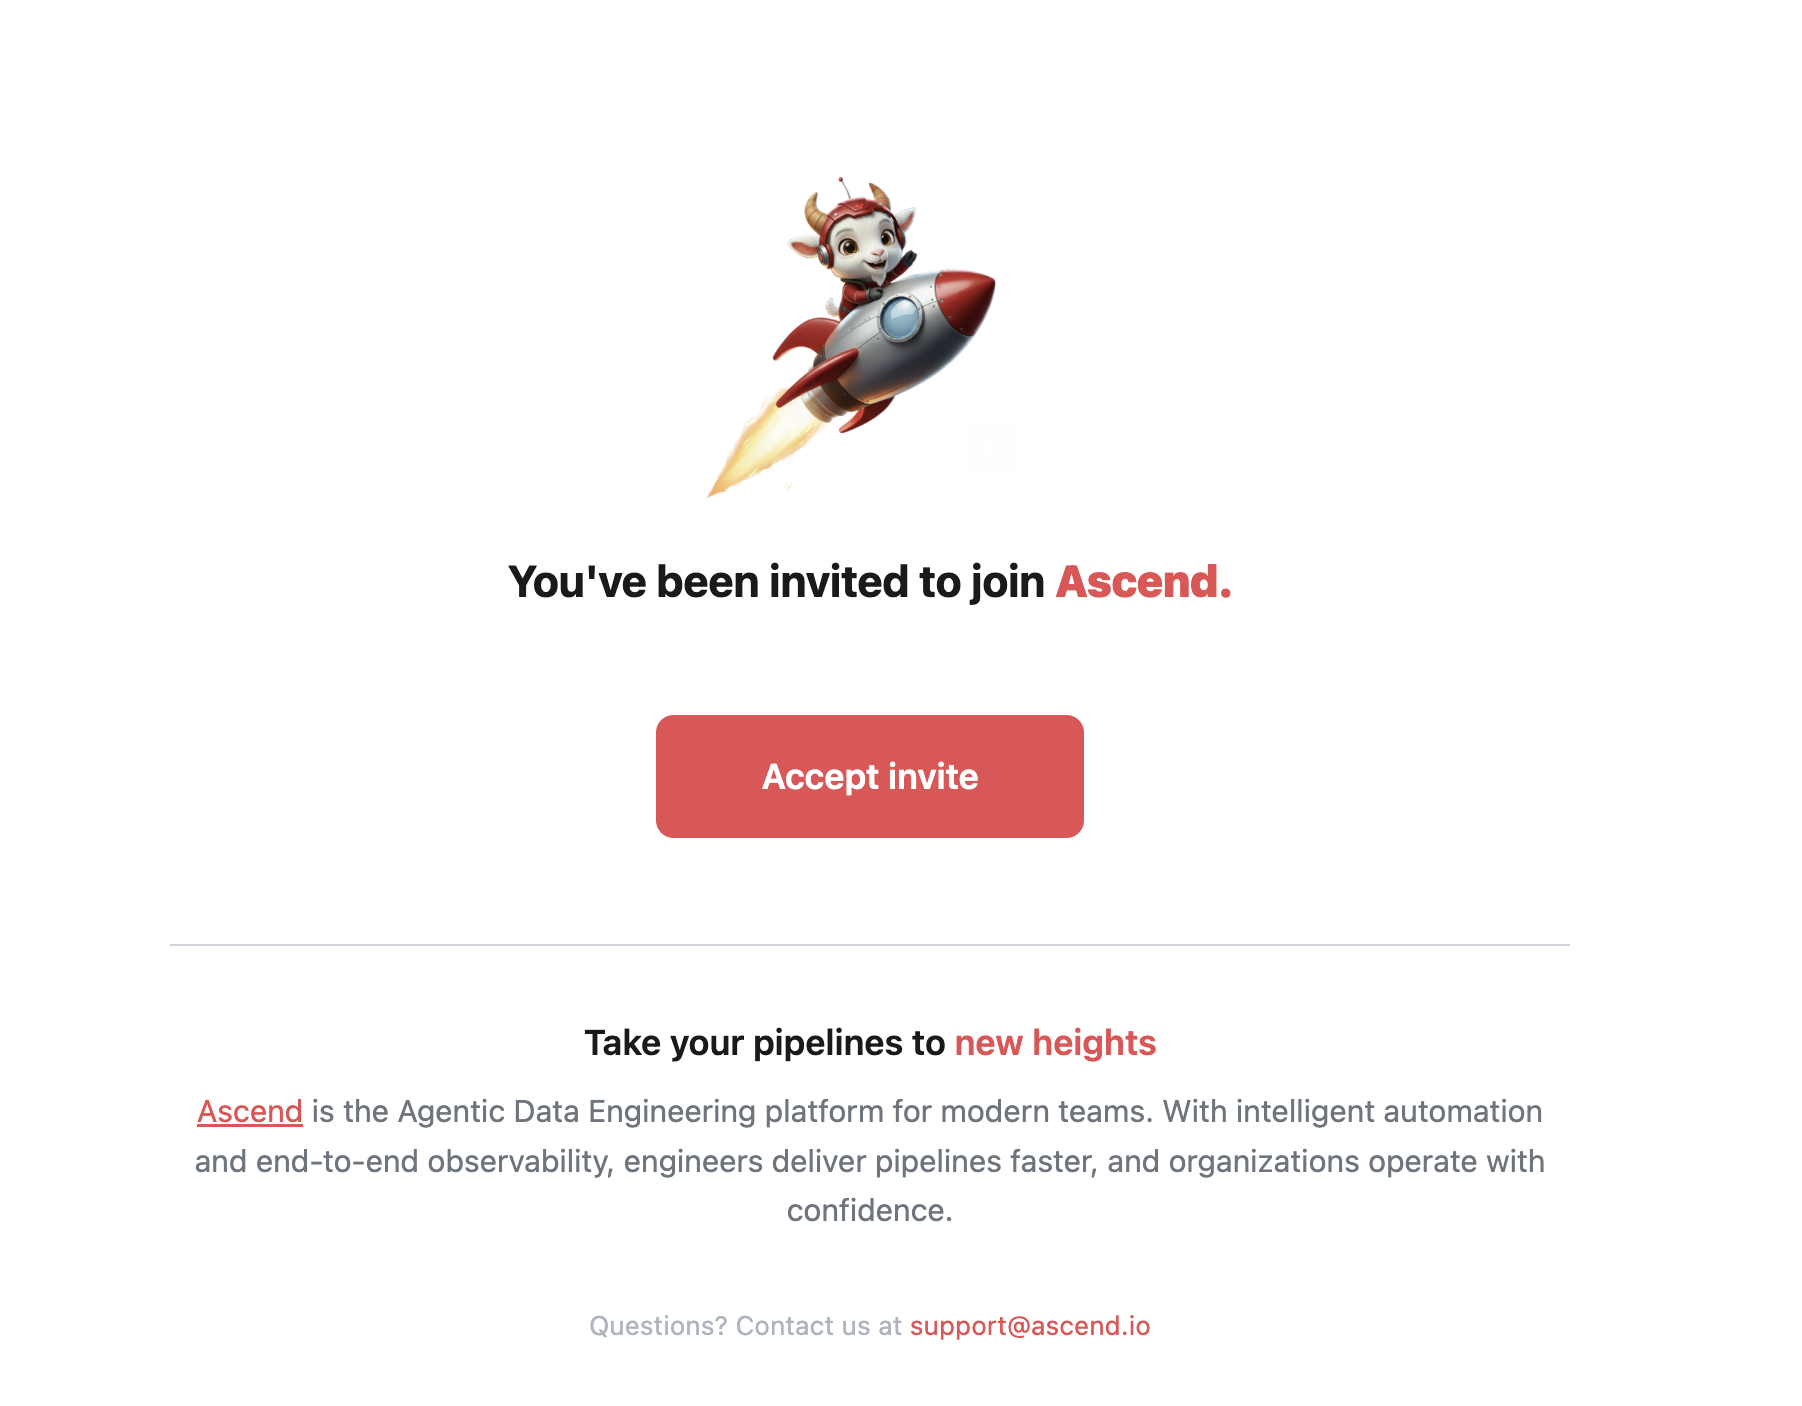
Click to accept the invite. Create a password or sign in with Google SSO.

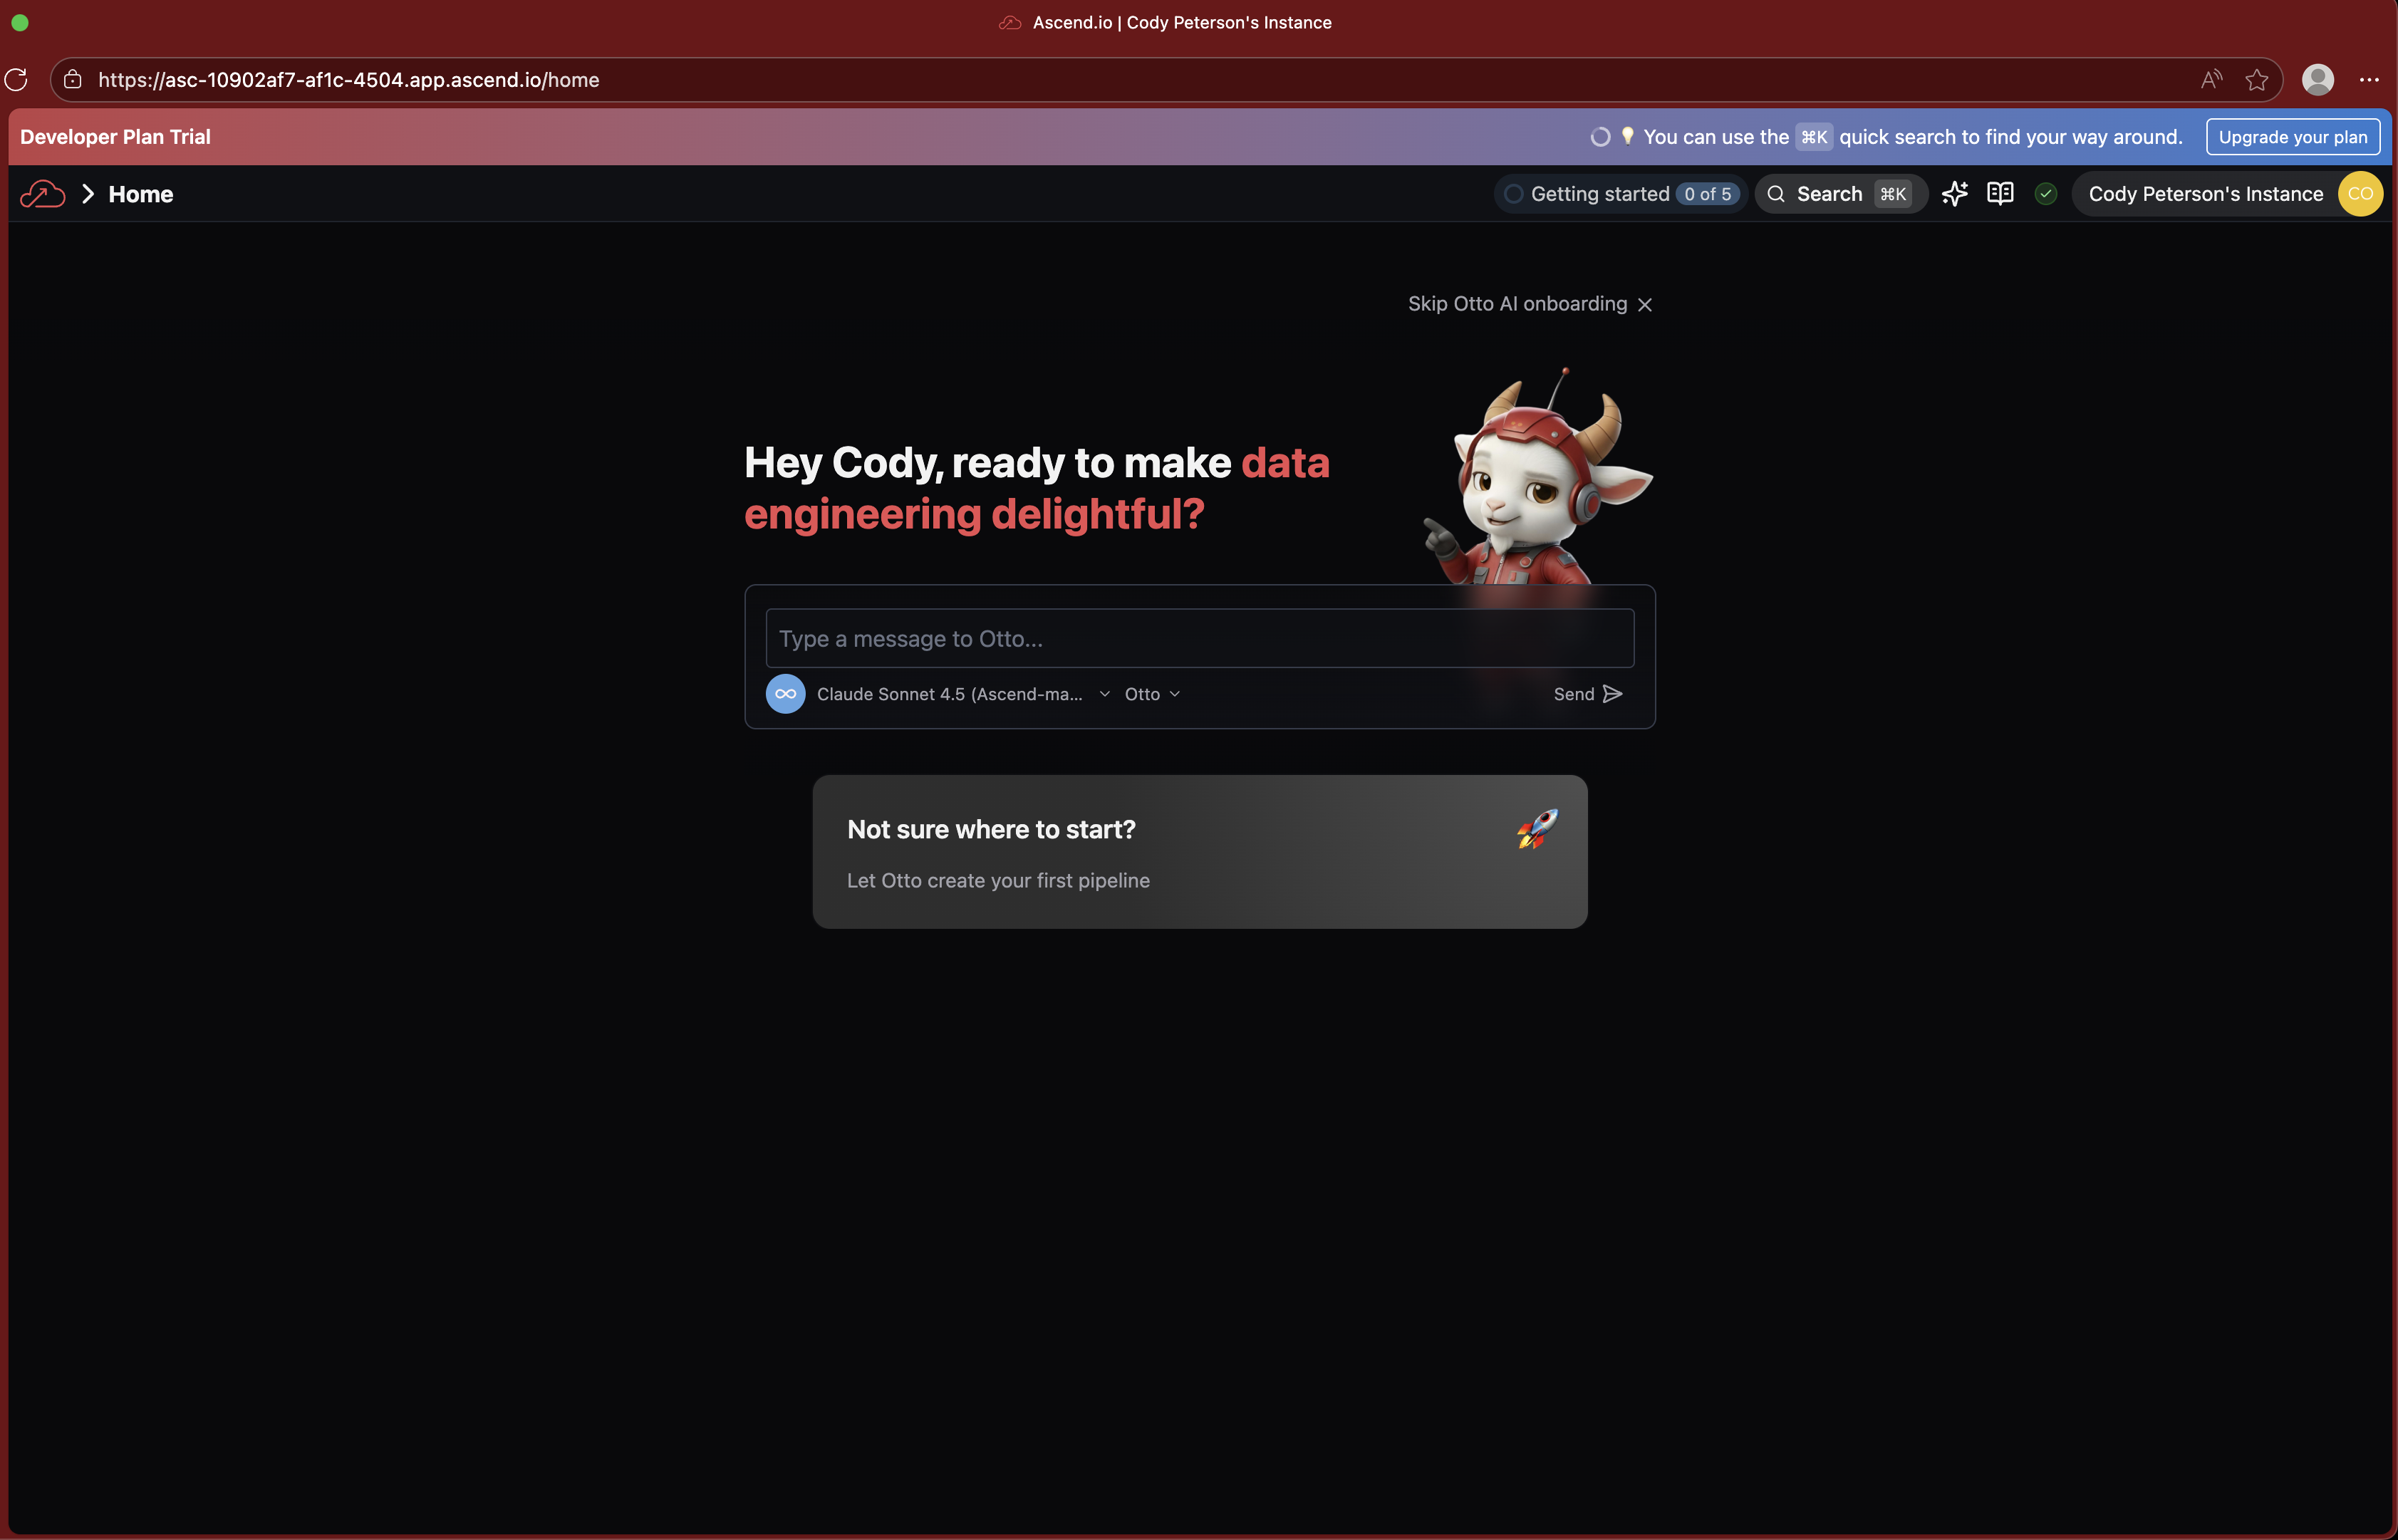
Once signed in, you'll either see the Otto onboarding screen or the home page (if you've completed or skipped the onboarding previously).
- Onboarding screen
- Home page

Part 2: Build your API connector
If you see the Otto onboarding screen, click the "X" toward the top right to skip it. Navigate to your Workspace by clicking the Workspace labeled with your name, or use the search bar at the top of the screen.
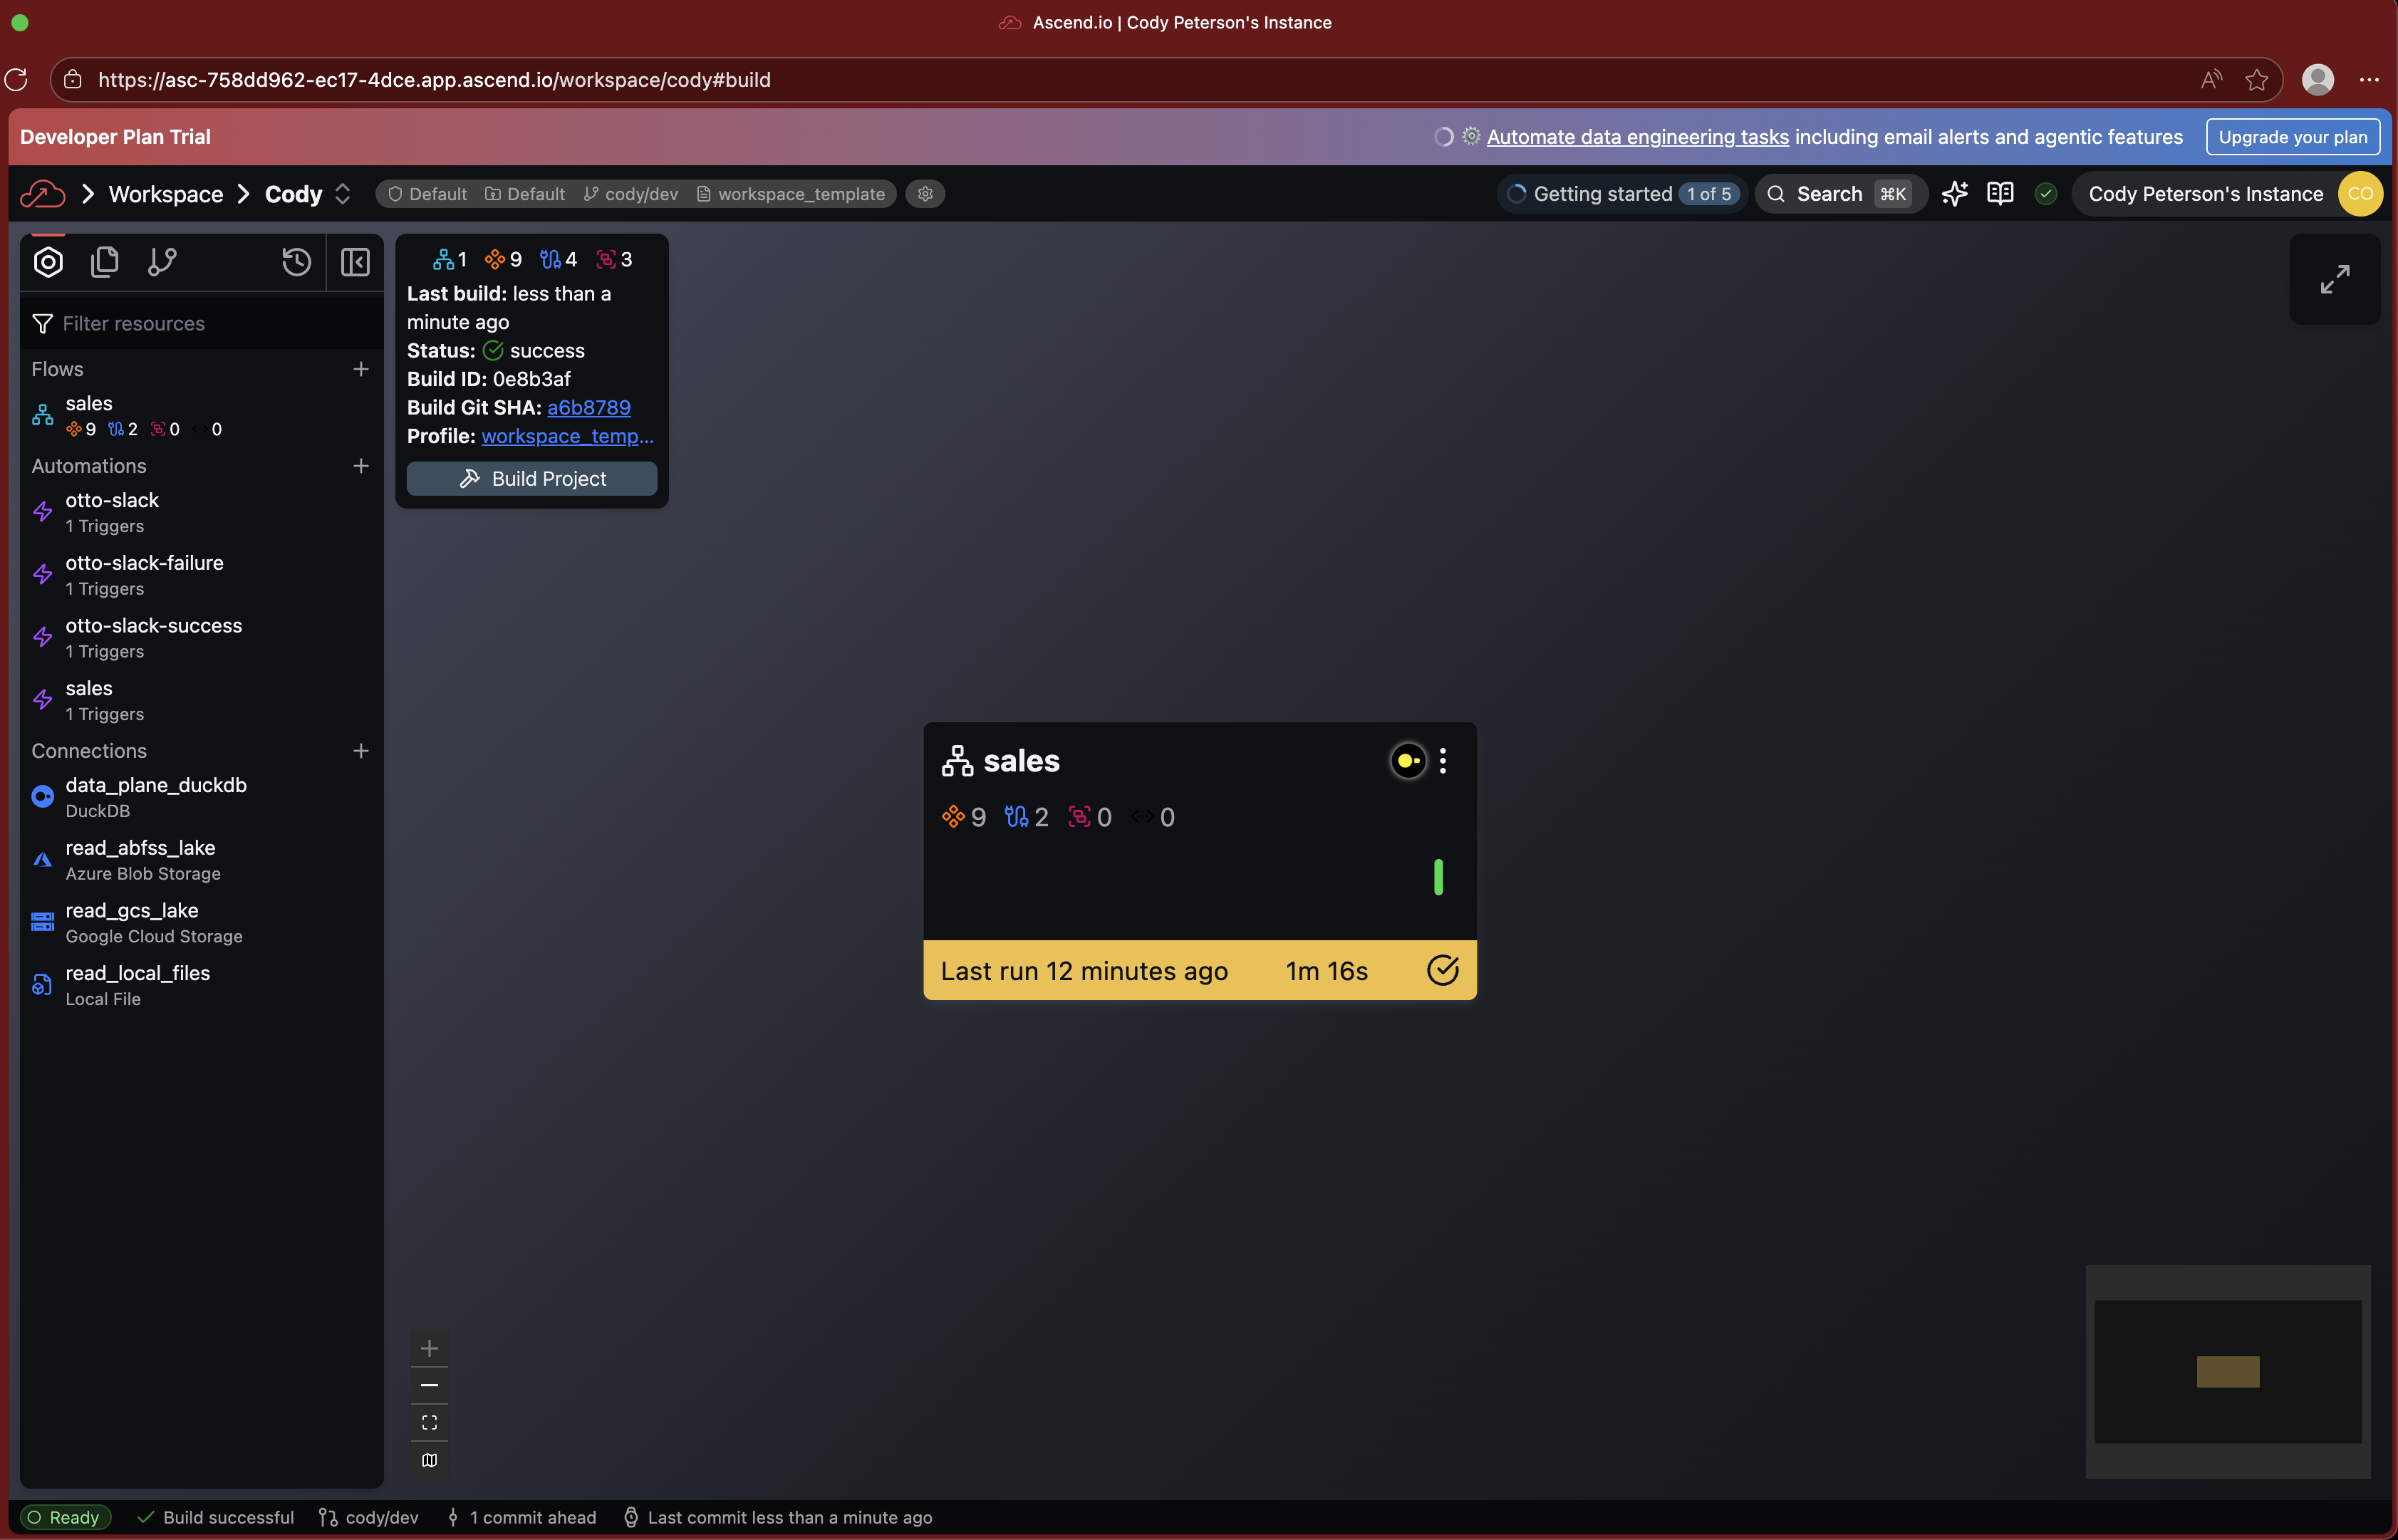
You'll see your Super Graph. This is a graph of all your Flows.
Open the Otto assistant chat by clicking the AI chat icon (the sparkles) toward the top right of your screen or using the Ctrl + I keyboard shortcut.

Now prompt Otto in the chat to build an API connector with the following prompt:
Hey Otto! Please create a new Flow named weather and a custom python read component that reads in hourly data from the Open-Meteo api for the last 31 days worth of data. Then, please make sure the Flow runs successfully.
Sit back and watch Otto get to work!
Make sure you are using "Agent Mode" in the chat. The infinity symbol beneath the chat input should be highlighted in blue; if it is not, click the button to enable Agent Mode. Agent mode enables Otto to iterate, build, and test the connector without user input.
Agents can get things wrong, but agentic development loops tend to iterate toward success! If you see an error or Otto is stuck, ask Otto to fix it.
Part 3: Authentication and authorization best practices
For this lab, we've chosen to use the Open-Meteo API, which does not require authentication. However, for most real-world use cases, you will need to authenticate and authorize your API calls.
Never store API keys or other sensitive information in your code as this is a security risk. Always use a secret manager to store and access your API keys.
Ascend enables you to securely store and reference secrets with Vaults.
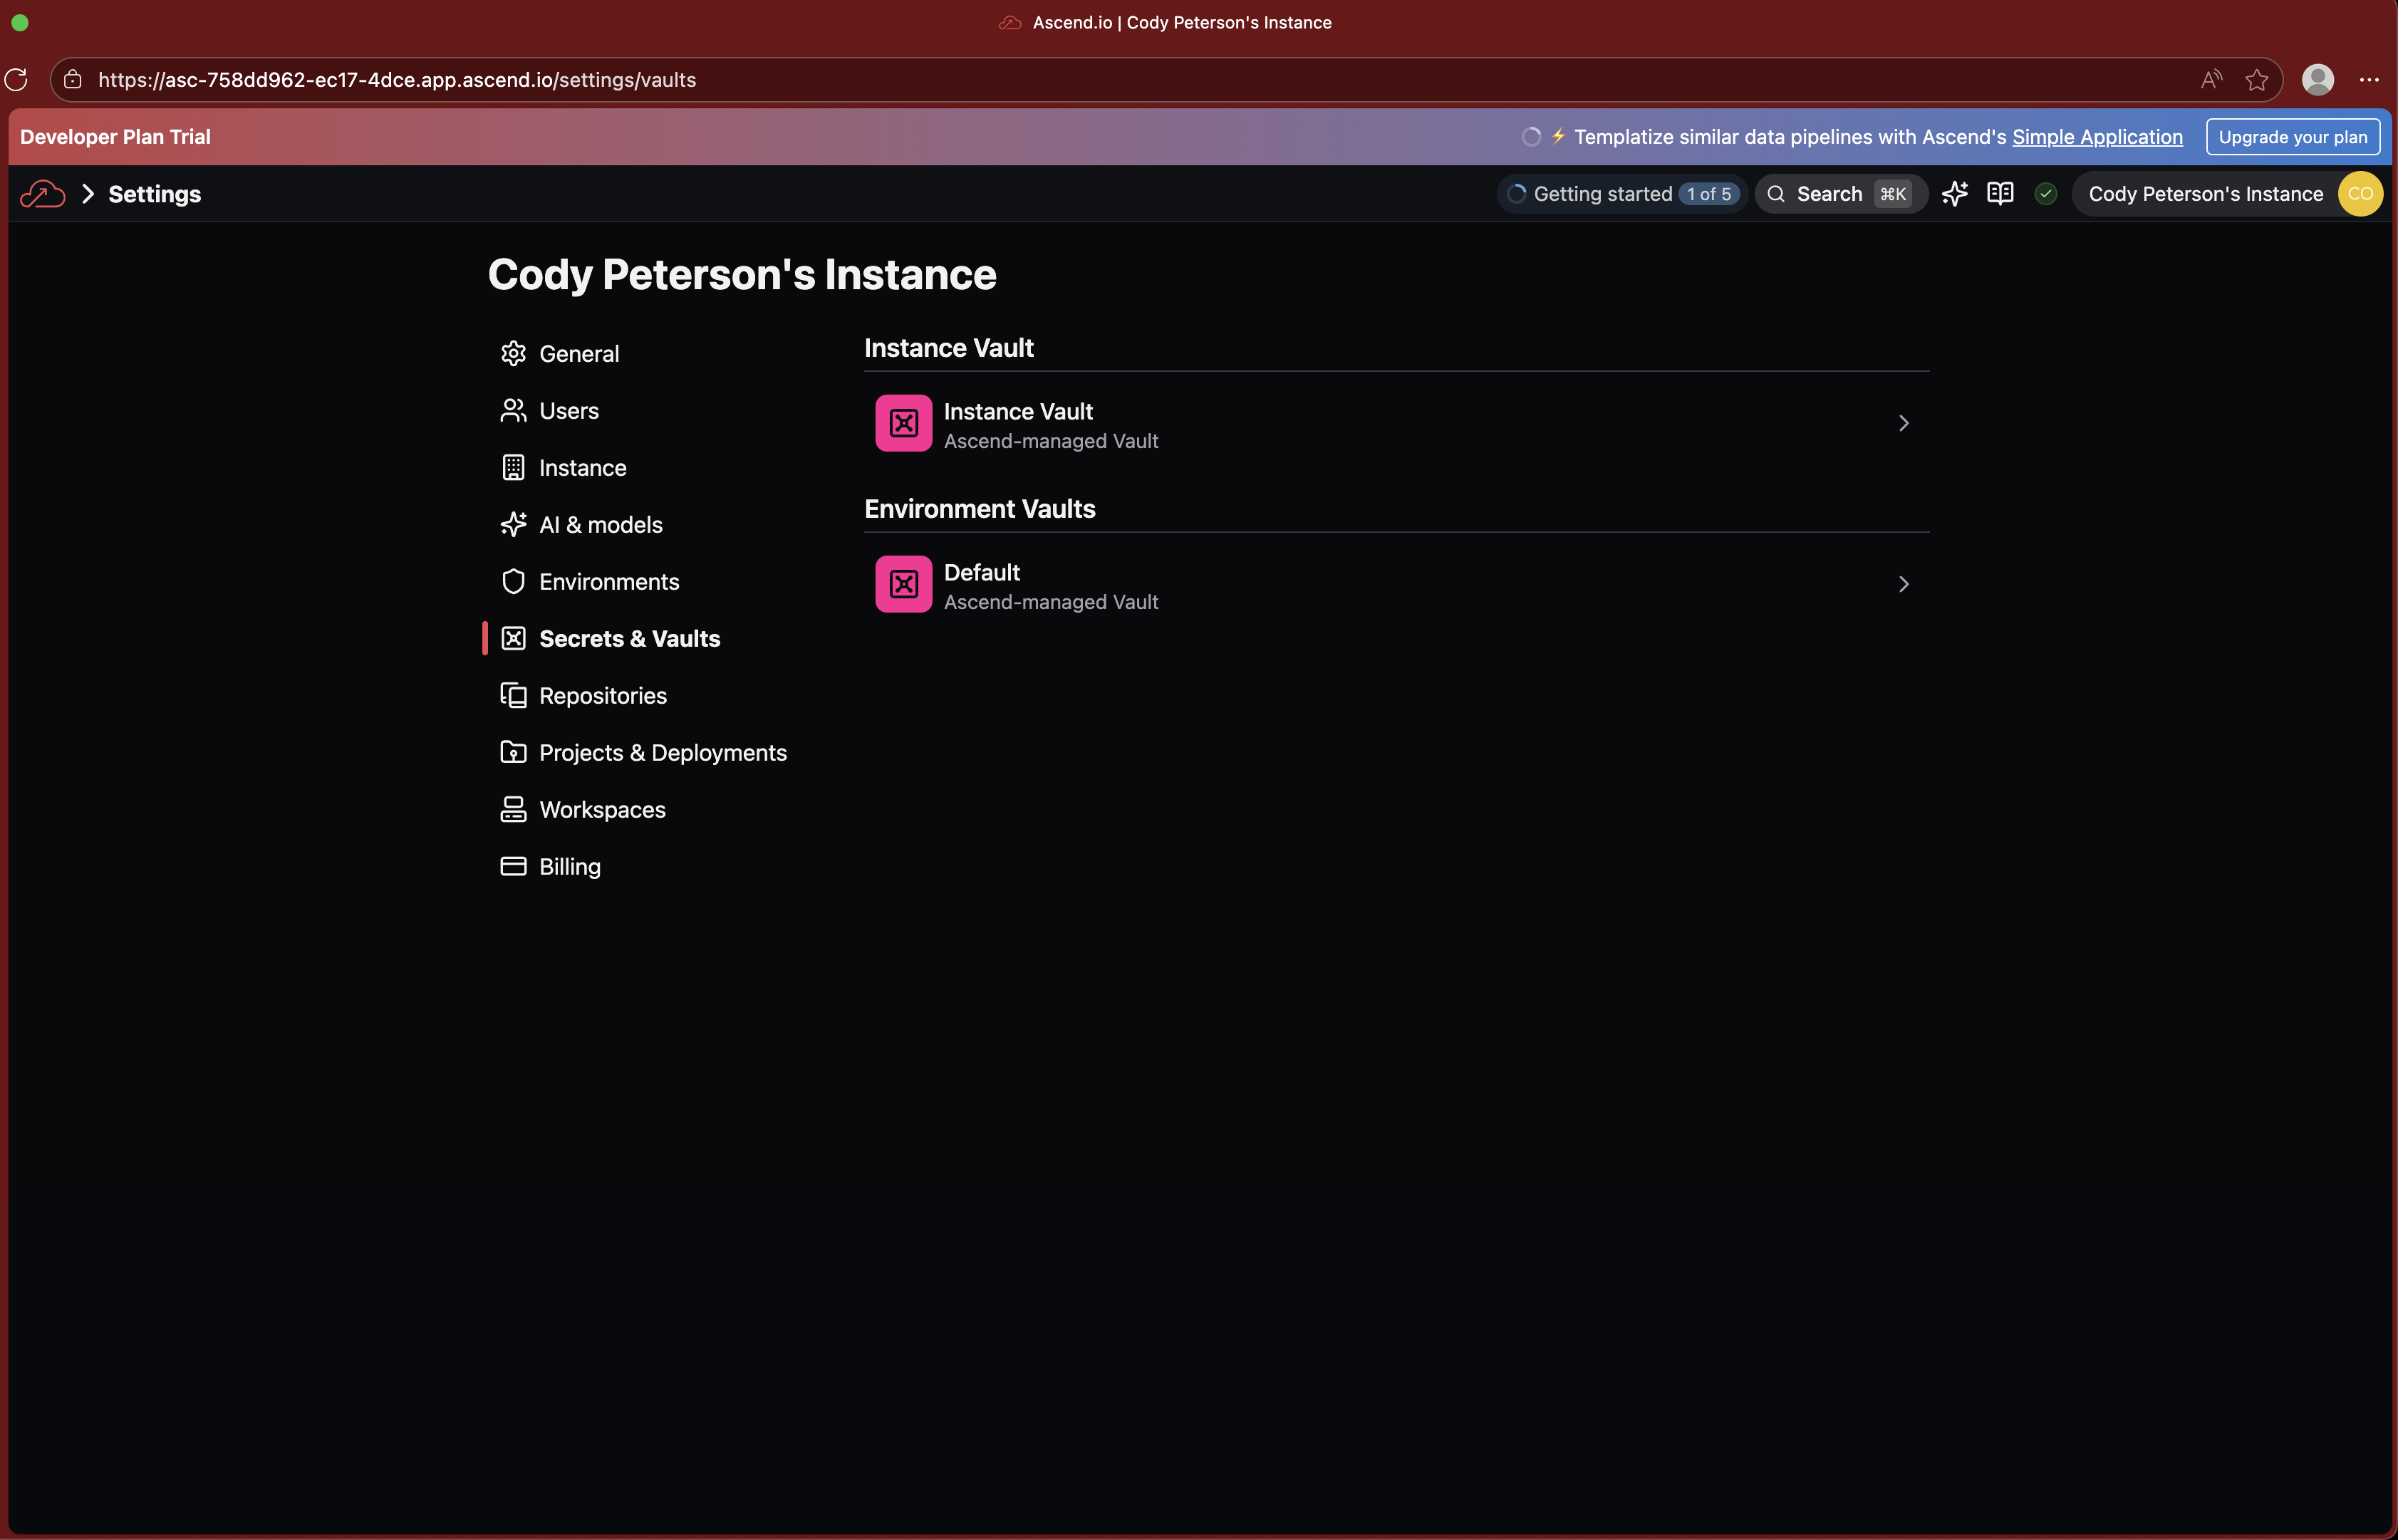
When developing your API connector, you can use the vaults object to reference secrets in your code with the syntax ${vaults.environment.SECRET_NAME}.
You can also tell Otto:
Hey Otto! Please use the secret name 'SECRET_NAME' as the API key for this connector.
Part 4: Transform the ingested data
Now that you have a working API connector, let's transform the ingested data for downstream use.
Prompt Otto to add a new SQL Transform Component to the Flow that summarizes the data by day.
Hey Otto! Please add a new SQL Transform Component to the weather Flow that summarizes the data by day.
Part 5: Orchestrate and automate your pipeline
From here, you can orchestrate and automate your pipeline so that the data remains fresh for downstream consumers.
Prompt Otto to add an Automation to the Flow that runs it every day at 12:00 AM.
Hey Otto! Please schedule this Flow to run every day at 12:00 AM.
Otto will create a new Automation to run the Flow based on a cron schedule. The code should look like this:
In Ascend, Automations are only enabled within Deployments. Once you have tested your Flow and are ready to put it into production, you can deploy your Flow to a Deployment.
You can also use Automations to trigger other agentic actions, such as sending an email or Slack notification when a Flow fails. Check out this guide to see how.
Part 6: Deploy to production!
Once your pipeline runs successfully, you can deploy your changes to production! Open the Git tab from the Toolbar.
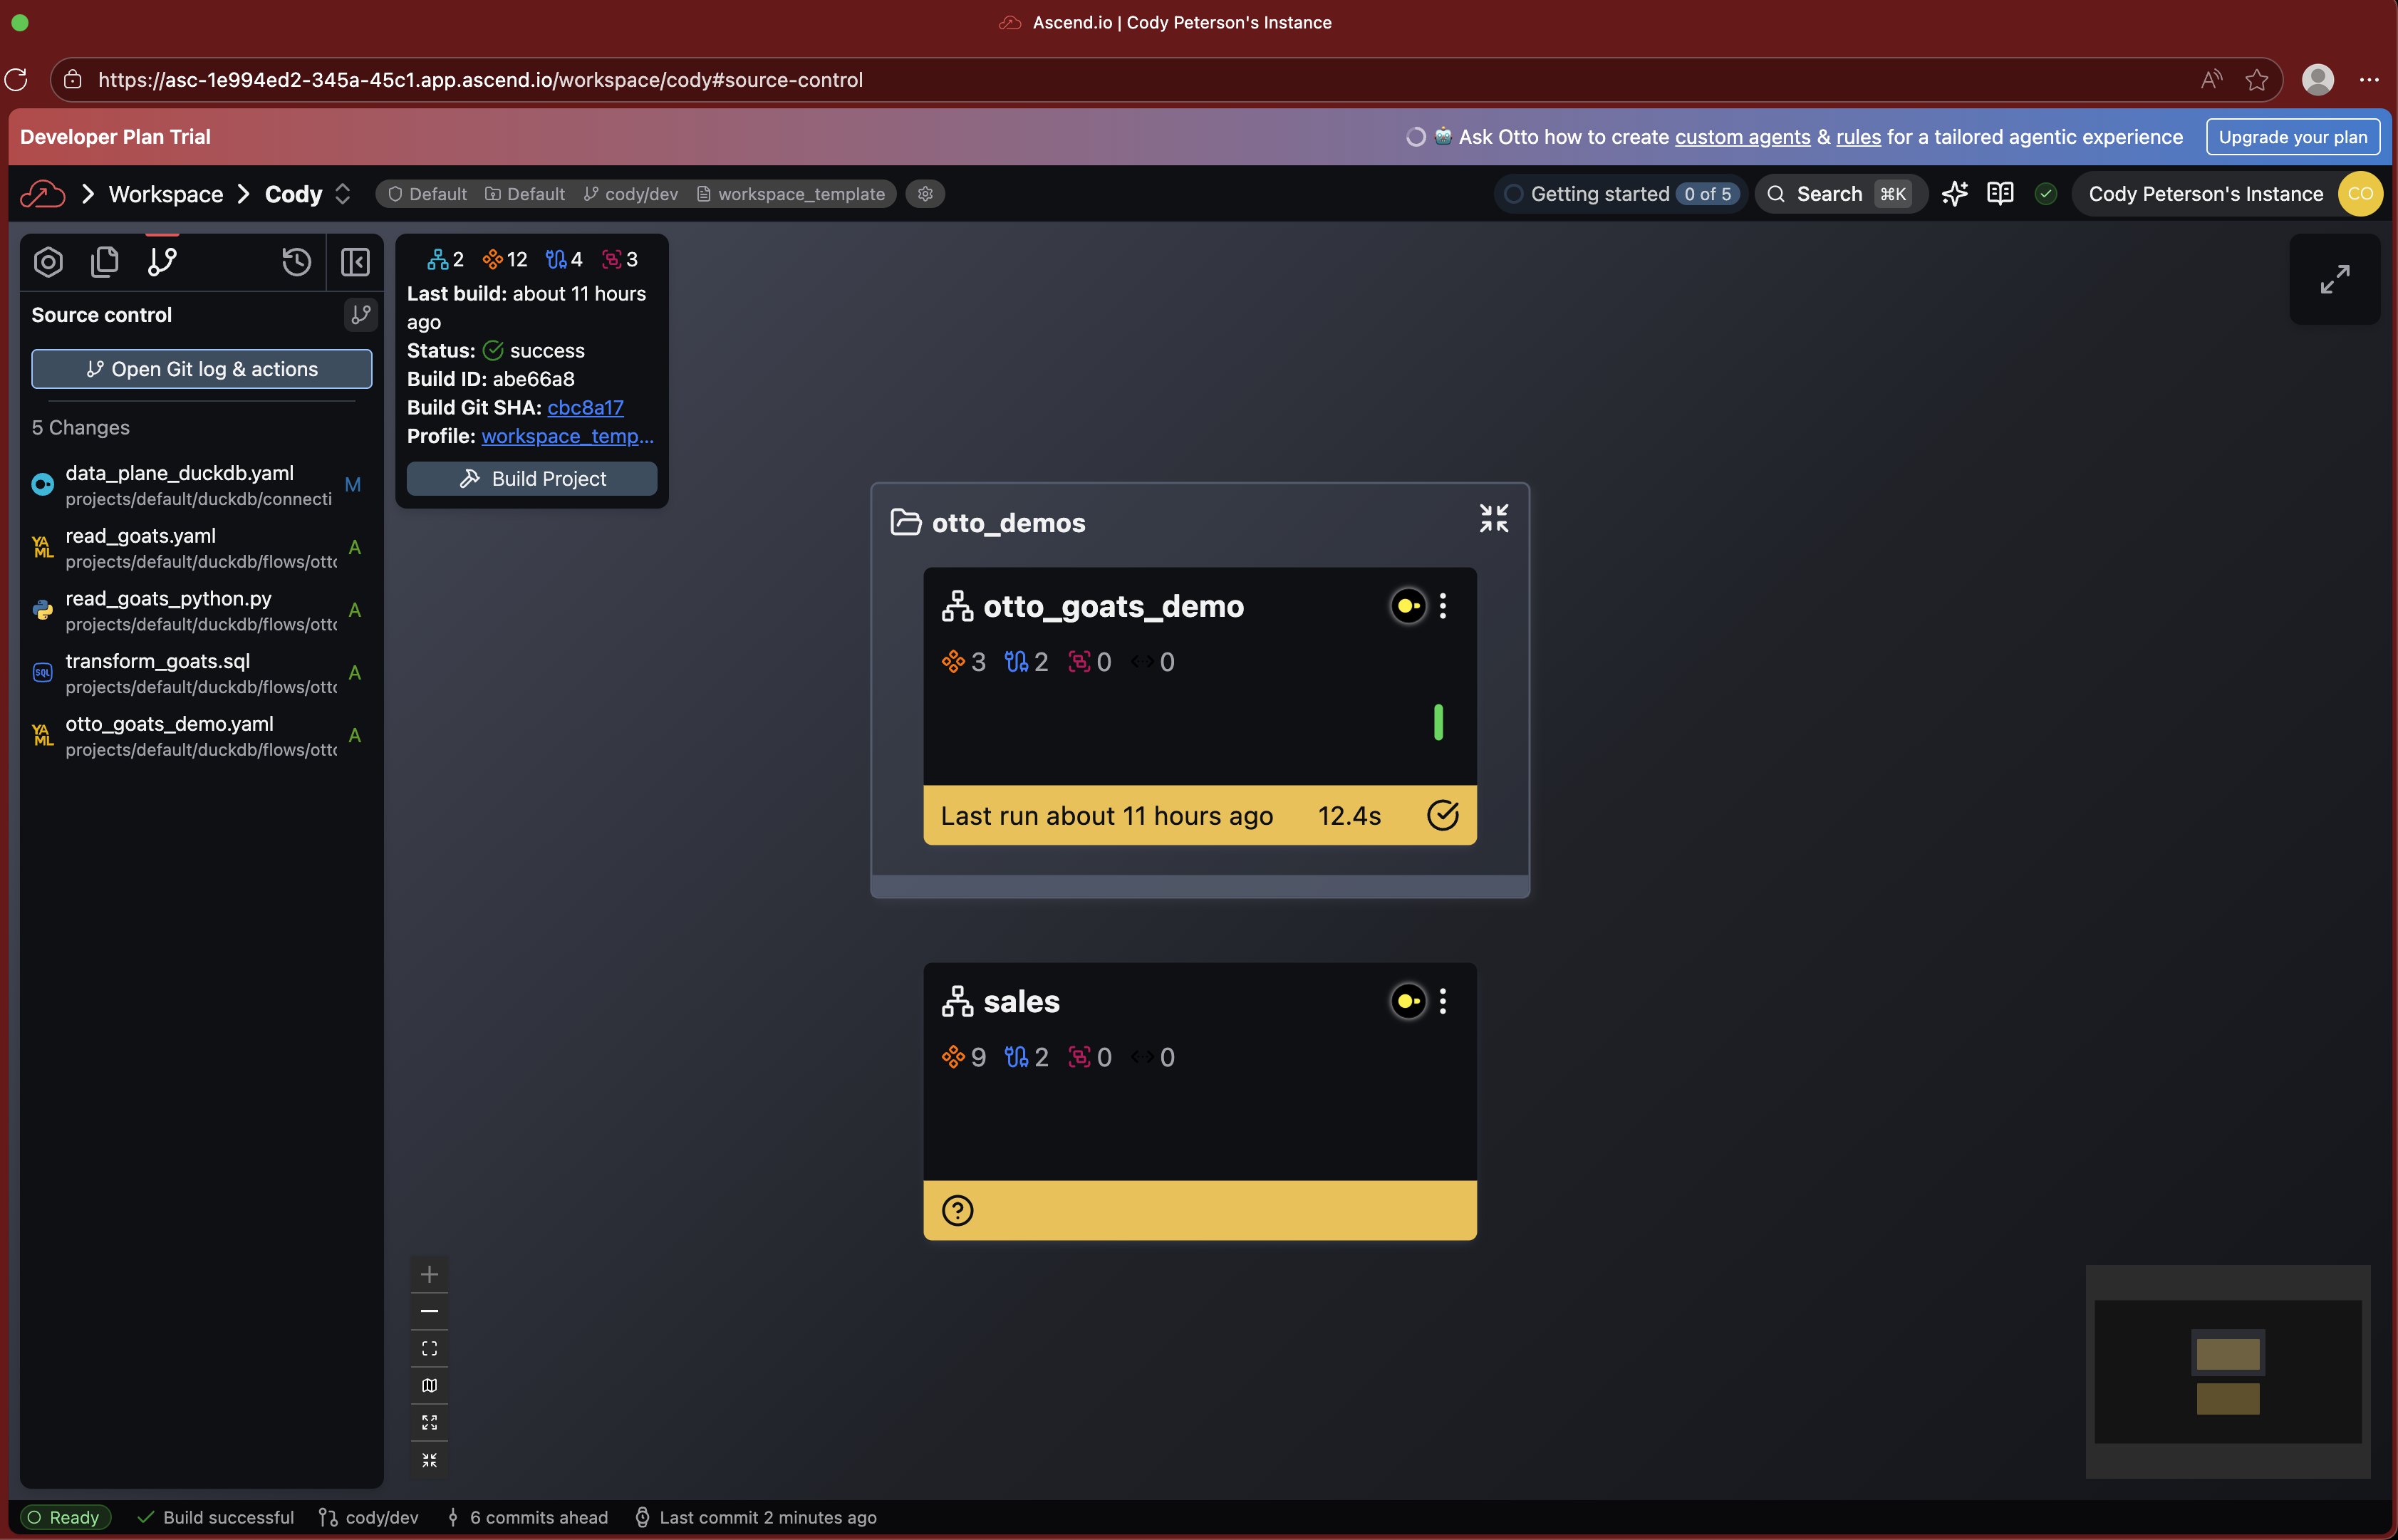
Click to Open Git log & actions.
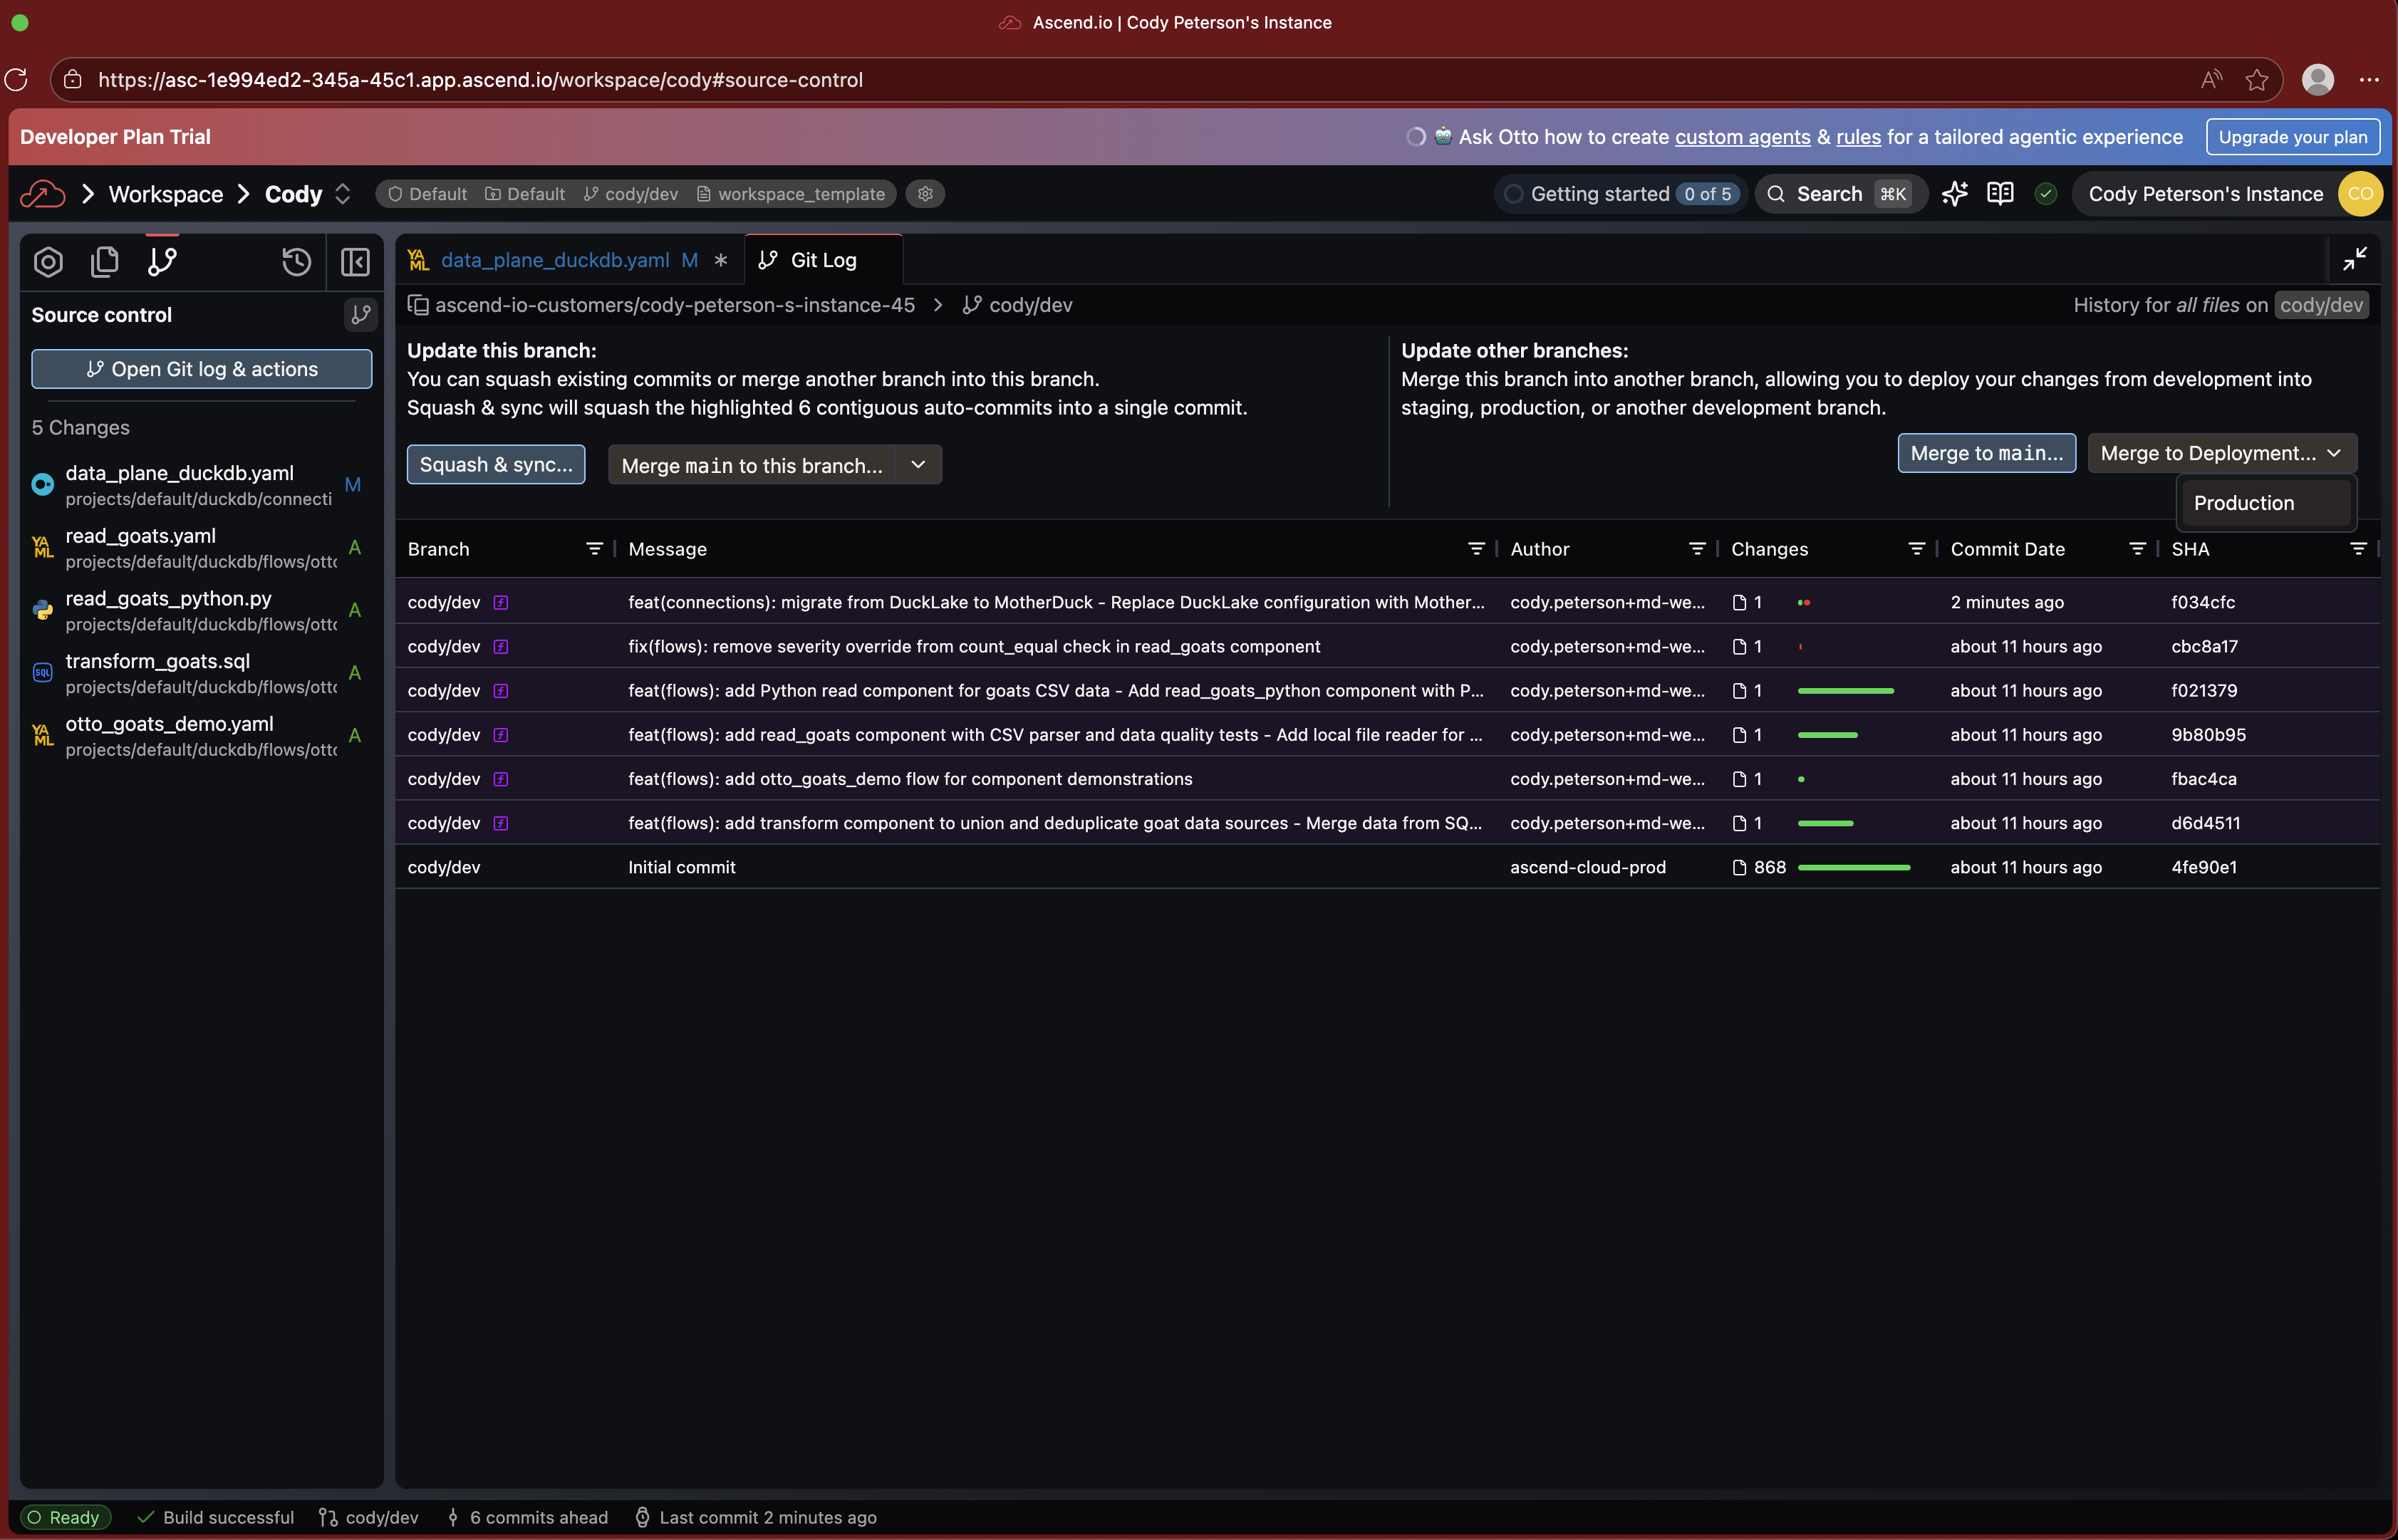
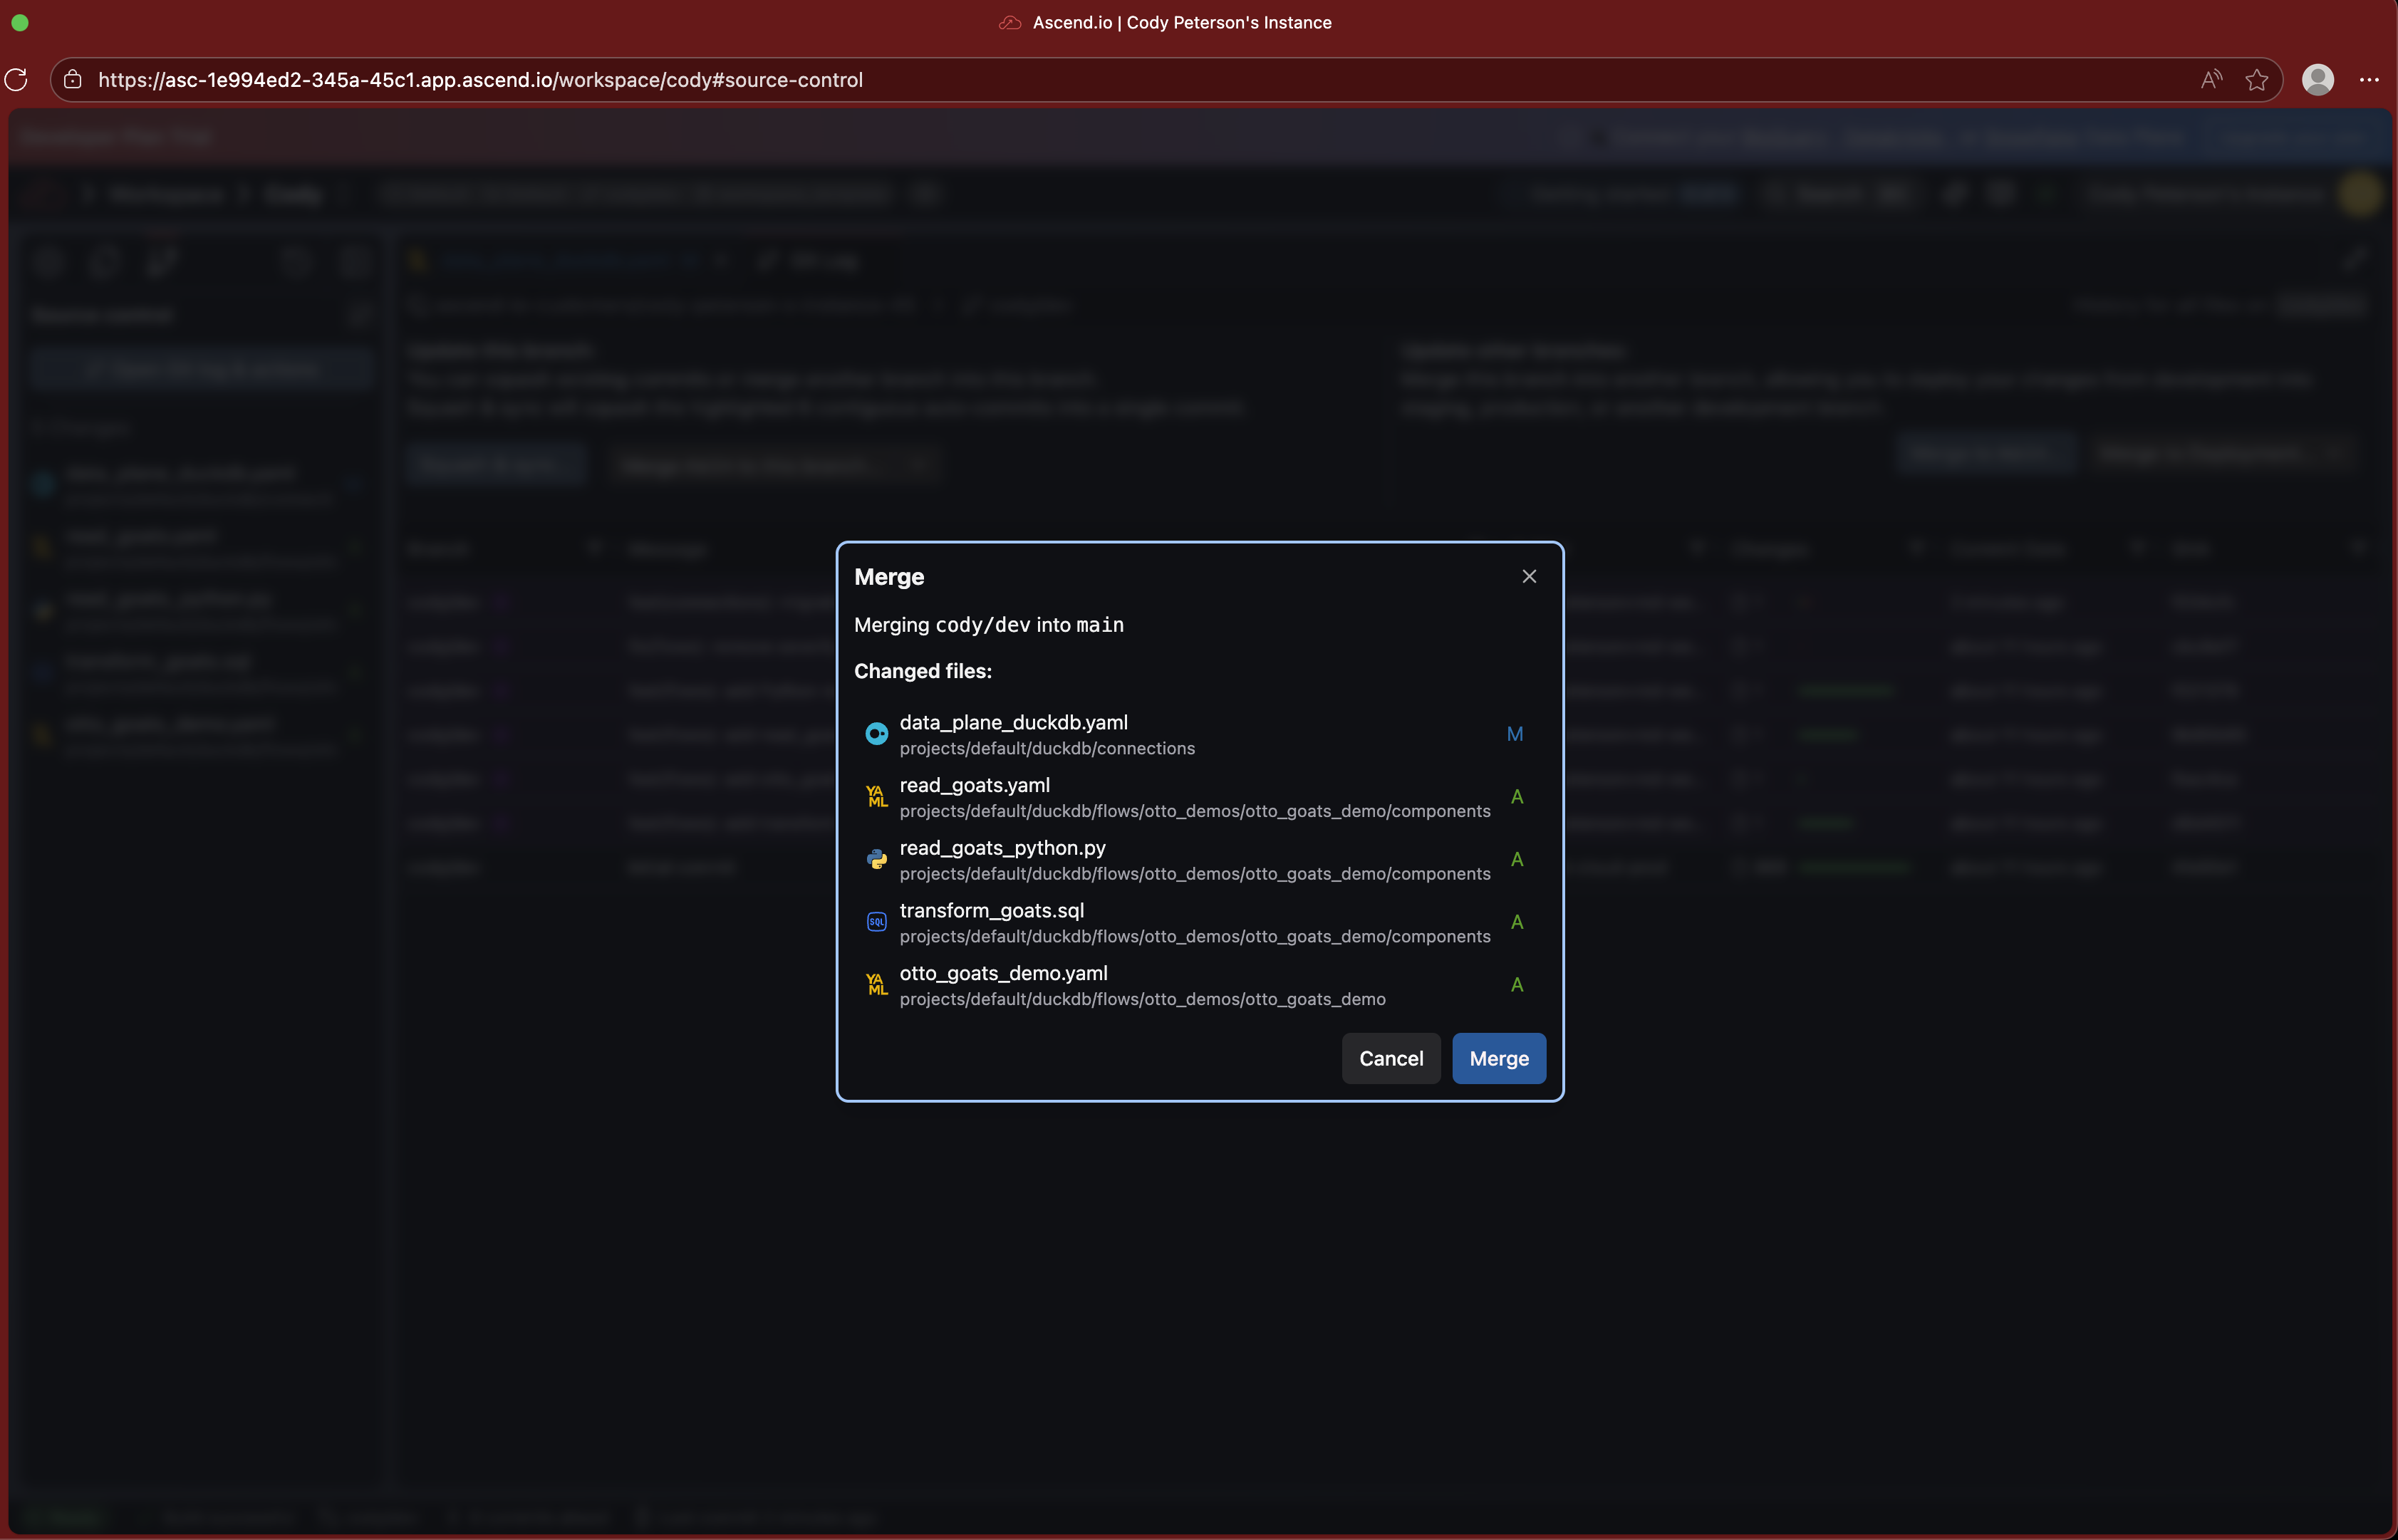
Then click to Merge to Deployment.
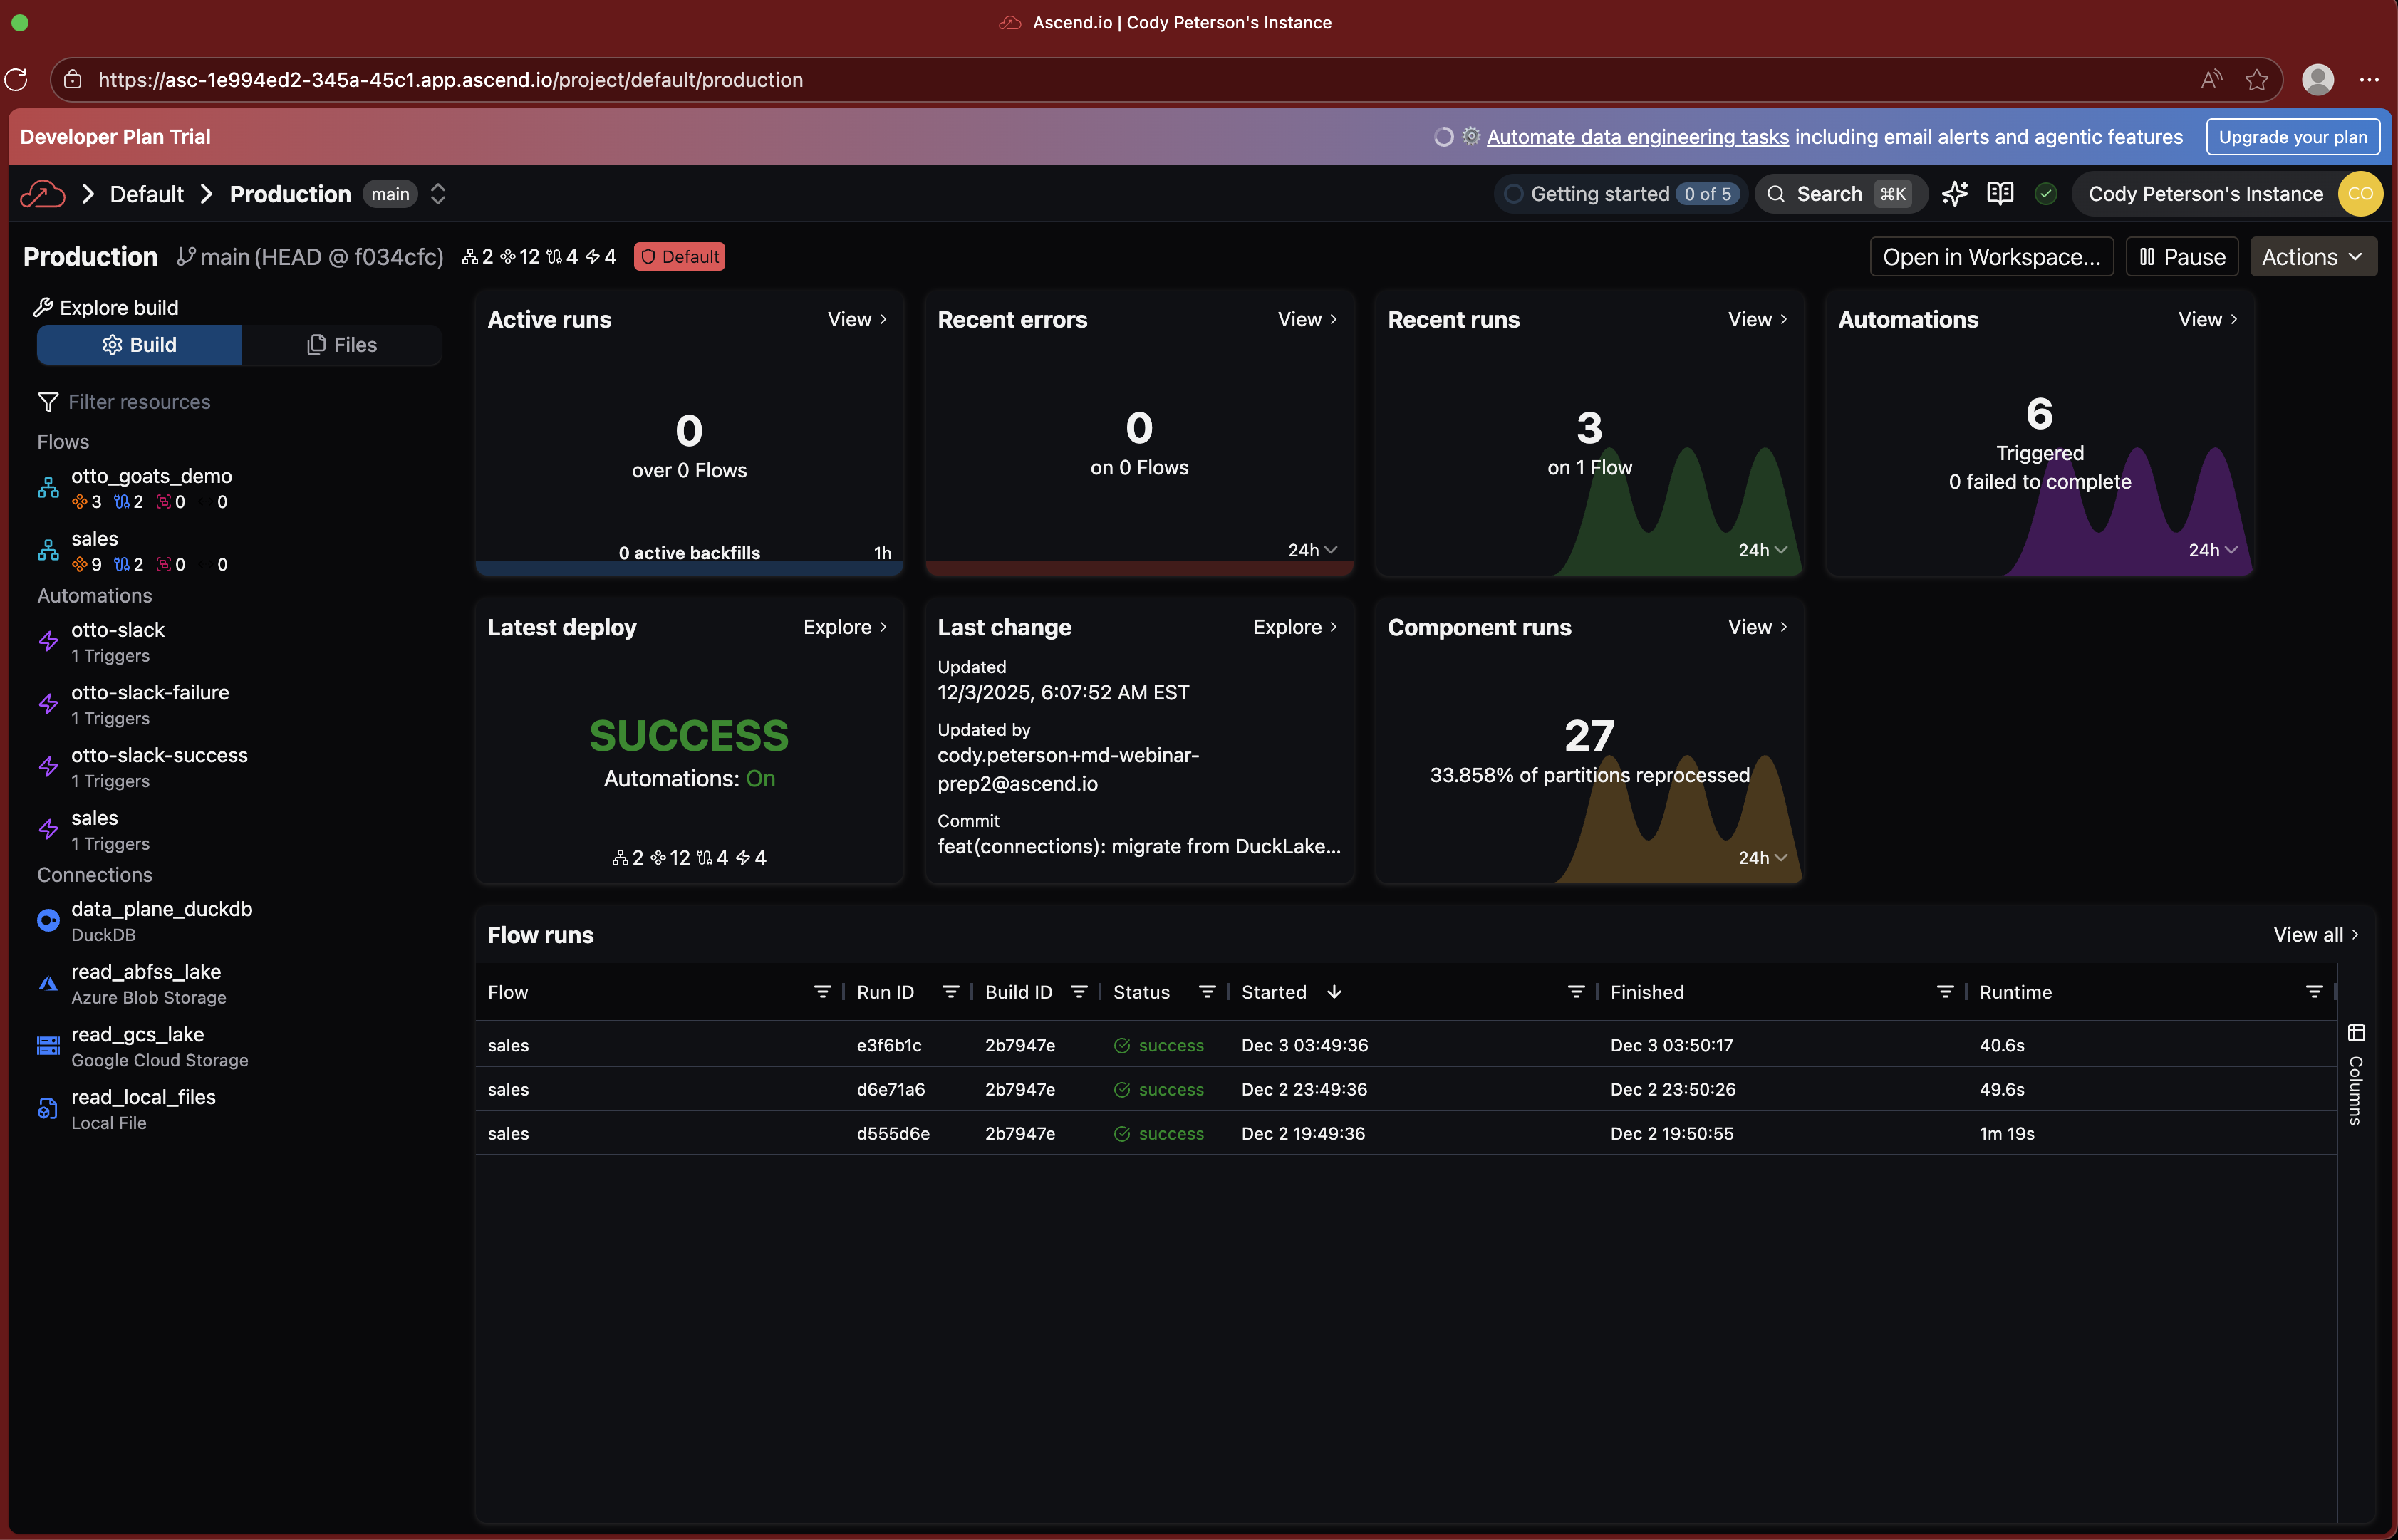
Navigate to your Deployment (from search or the home page) and run your pipeline in production!

The end
Congratulations! You've successfully performed Agentic Data Engineering in the Ascend platform, building an API ingestion pipeline with Otto. From here, you can start working with your own data and building more complex pipelines!
You can reach us at:
- Jenny: jenny@ascend.io
- Tessa: tessa@ascend.io
General Ascend email aliases:
- Sales: sales@ascend.io
- Support: support@ascend.io