Data Plane tables
Learn how to create an Alias Component that references existing tables in your Data Plane within Ascend Flows.
Prerequisites
Before beginning, ensure you have:
- An Ascend project
- A Data Plane Connection
- Access to database tables you want to reference
Create an Alias Component
From your Workspace Super Graph view, follow these steps to create your Component:
- Form
- Files panel
- Double-click the Flow where you want to create your Component
- Right-click anywhere in the Flow Graph
- Hover over Create Component, then over Read in the expanded menu, and click Alias
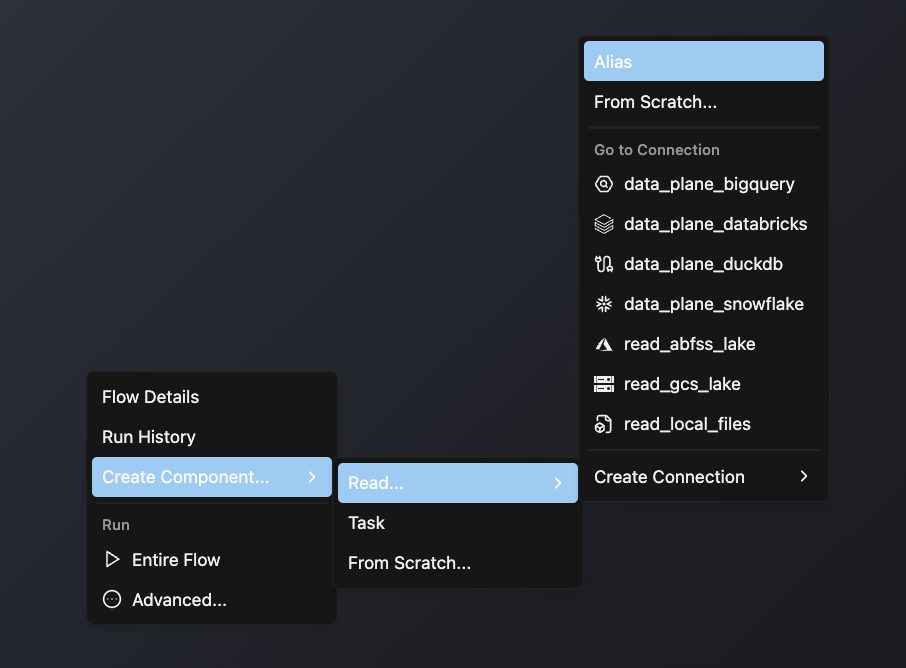
- In the pop-up window, select your desired database and table
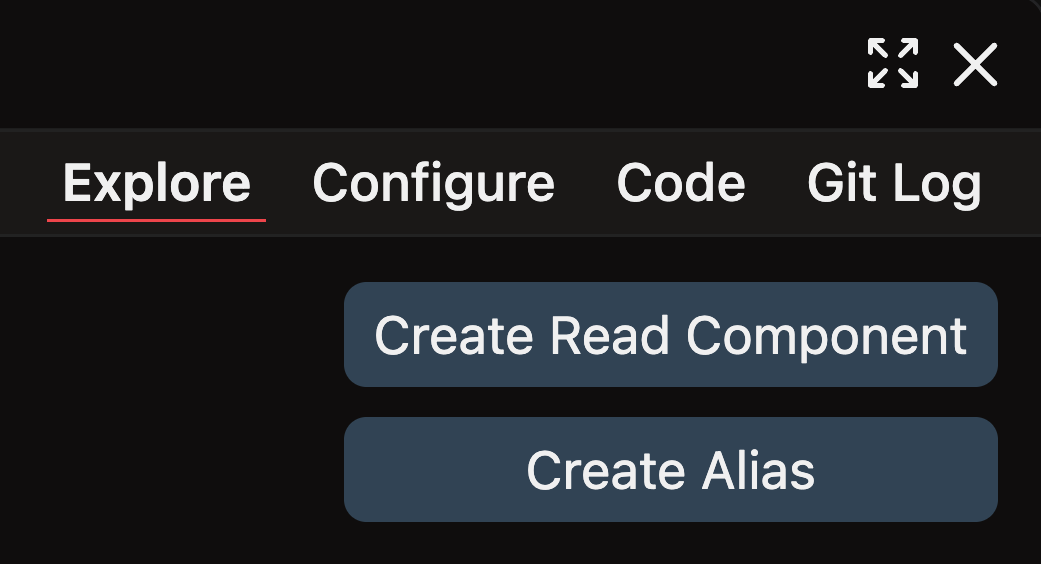
- Click Create Alias in the top right
- Complete the form with these details:
- Select your Flow
- Enter a descriptive Component Name like
read_sales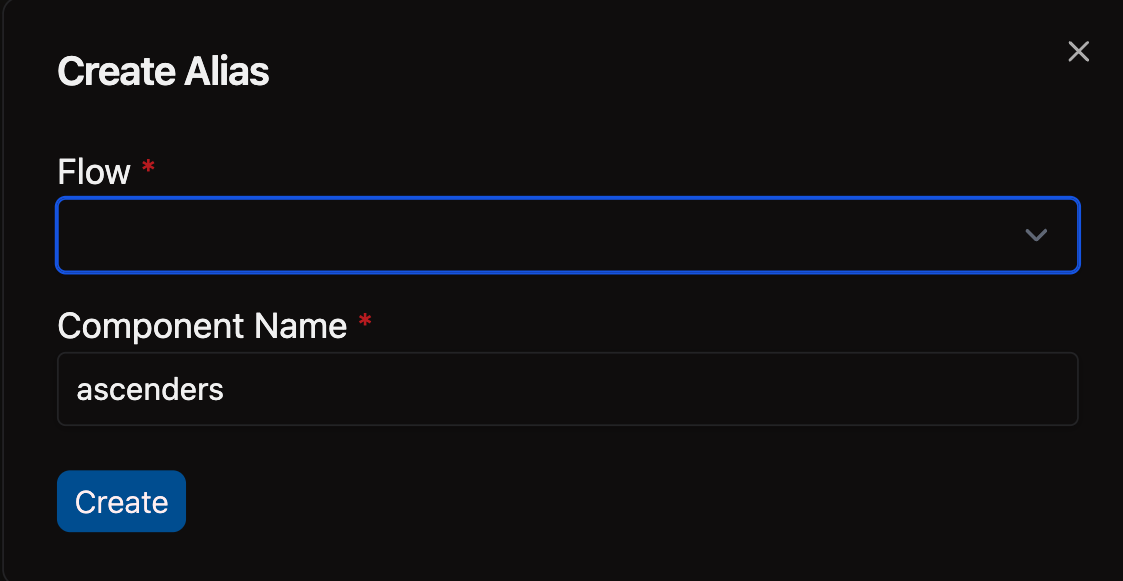
- Open the files panel in the top left corner
- Navigate to and select your desired Flow
- Right-click on the Components directory and choose New file
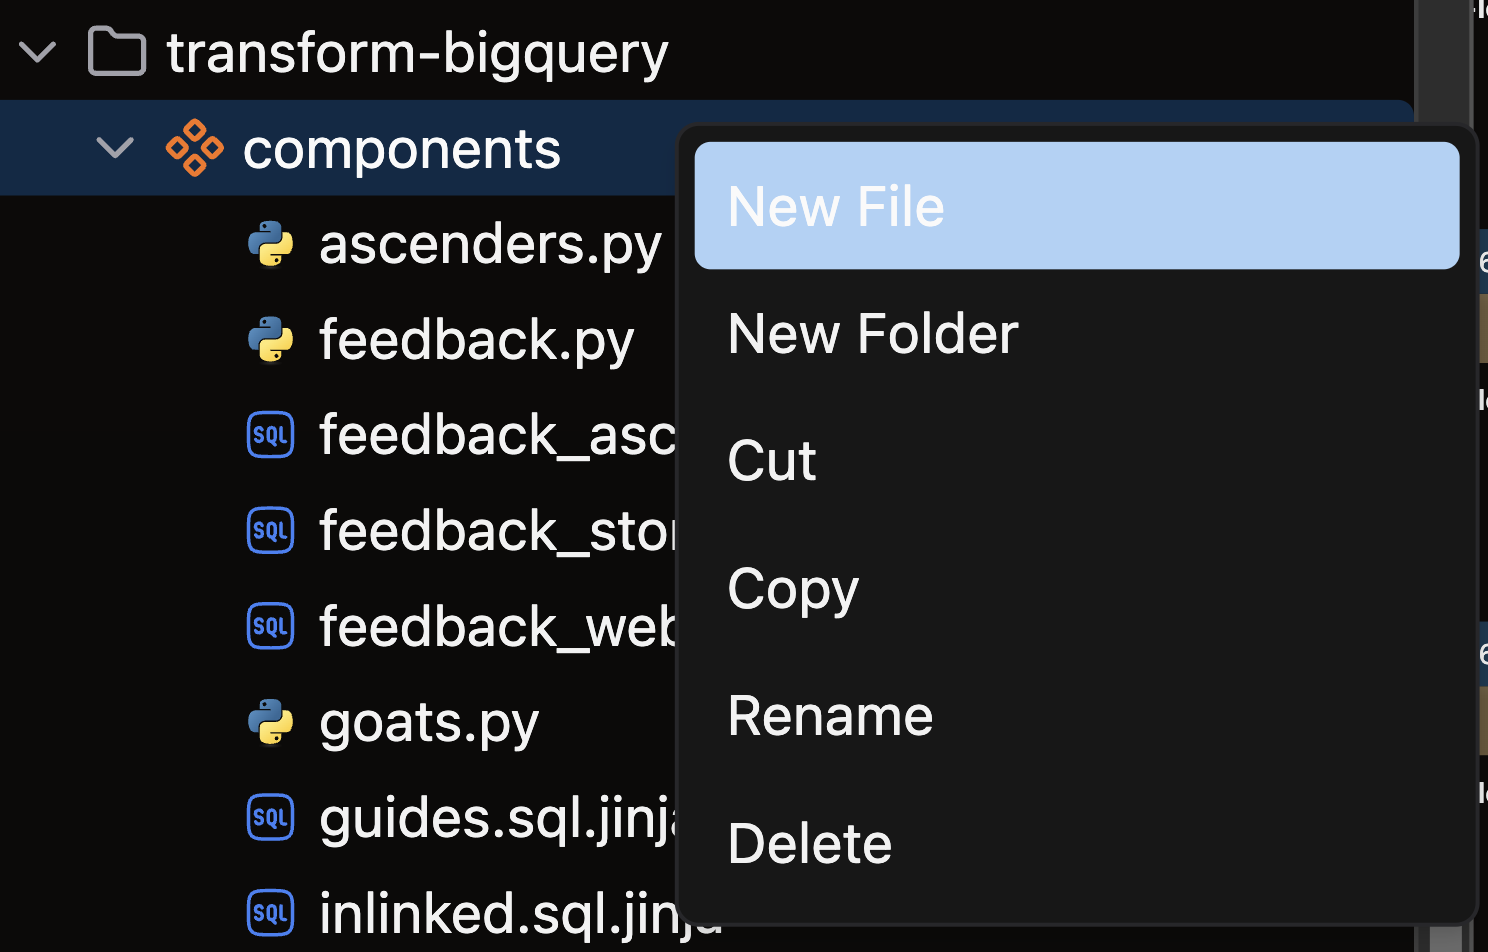
- Name your file with a descriptive name like
read_sales.yamland press enter - Add your YAML configuration using one of the formats below
Configuration options
When creating an Alias Component, you have several configuration options depending on your needs.
Basic configuration
To configure an Alias Component, directly specify the table location:
component:
  alias:
    location: "MY_DATABASE.MY_SCHEMA.MY_TABLE_NAME"
The location field follows the standard database.schema.table pattern to specify the table you want to reference.
Parameterized configuration
For more flexibility across environments, use parameters in your Alias Component:
component:
  alias:
    location: "${parameters.database}.${parameters.schema}.MY_TABLE_NAME"
This approach lets you define different database and schema values for different Environments without changing the Component definition. For example, you might have these Parameter values defined in your Profile:
parameters:
  database: DEV_DB
  schema: PUBLIC
See parameters for more details on configuring and using parameters.
Next steps
After creating your Alias Component, you can:
- Connect it to a Transform Component to process the data
- Create data quality tests against your referenced table
- Write processed data to a destination