Deploy
This guide demonstrates how to set up and configure Deployments in Ascend with proper separation between Development, Staging, and Production Environments.
The same process outlined here can be repeated to create Staging and Production environments, aligning with software engineering best practices for a complete CI/CD workflow.
To learn more about Deployments, check out this concept guide.
Prerequisites
- Ascend Project
- Ascend Workspace
- Ascend Flow with at least one Connection
- Dedicated Profiles for Development, Staging, and Production Deployments
- Configured Environments for Development, Staging, and Production
- Familiarity with Ascend Deployments
Create a Development Deployment
-
Navigate to the Projects and Deployments section in your Settings.
-
Locate your desired Project and select Add Deployment.
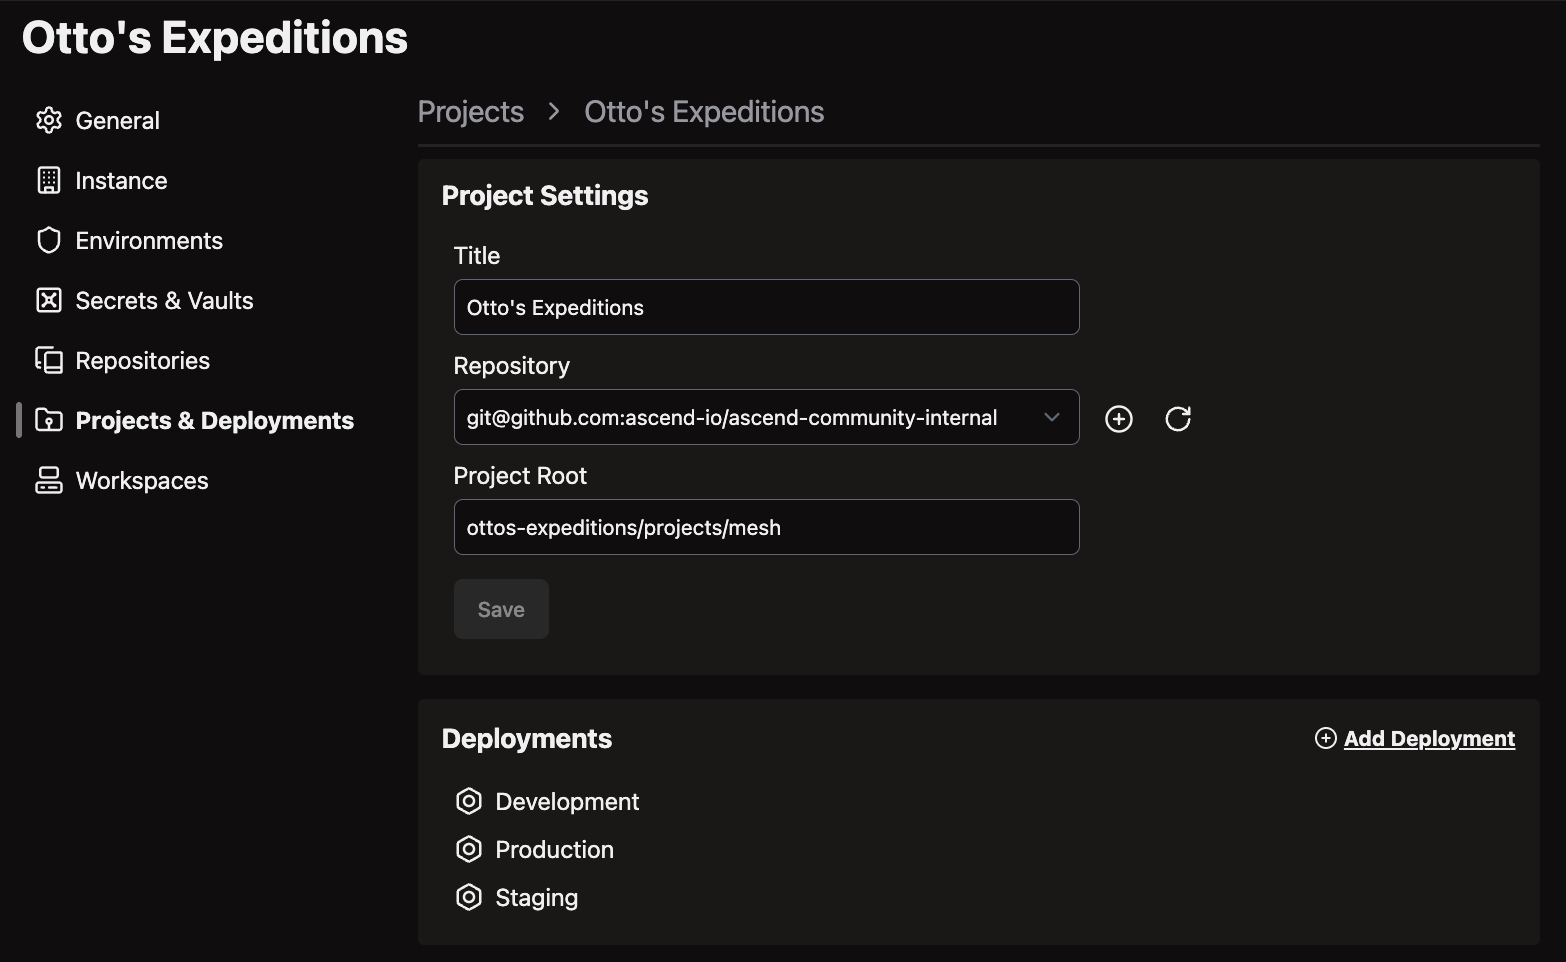
-
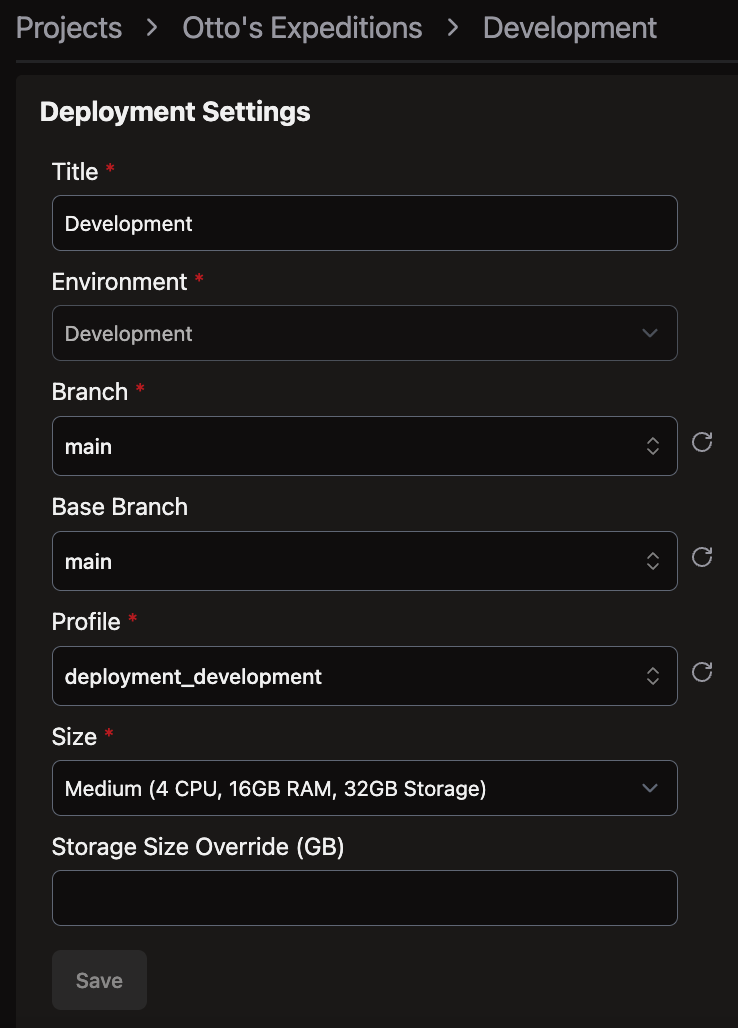
Configure your Deployment with the following settings:
- Title: Enter
Developmentor another descriptive name - Environment: Select your Development environment
- Branch: Specify your Development branch (typically
main, which is also the base branch) - Profile: Choose your dedicated development Deployment Profile
- Size: Select appropriate compute resources based on your workload requirements
- Title: Enter
-
Click Save to create the Deployment.
-
Access your newly created Deployment either through the home page or by returning to the Projects and Deployments section in Settings.
Manage Deployments
Once your Development Deployment is active, you can:
- Run your Flows within this isolated environment
- Make changes and test them without affecting production
- Monitor performance and resource usage
- Debug issues specific to this environment
Deployment promotion pipeline
Follow the same steps as above to create Staging and Production Deployments, adjusting the configuration appropriately:
- Staging: Connect to your staging environment and use a dedicated
stagingbranch - Production: Connect to your production environment and use a dedicated
productionbranch
To effectively manage the promotion of changes across Development, Staging, and Production deployments, implement GitOps best practices:
- Develop and test changes in your Development environment
- When ready, merge your feature branch into the
stagingbranch to deploy to Staging - After thorough testing in Staging, merge the
stagingbranch into theproductionbranch to deploy to Production
This structured promotion process ensures that each change is validated before reaching Production, minimizing risks and maintaining the stability of your data pipelines.
Run a Flow in a Deployment
-
From the Ascend homepage, locate your target Deployment and click on it to access the Deployments Dashboard. For this example, we'll use the
Demo DevelopmentDeployment: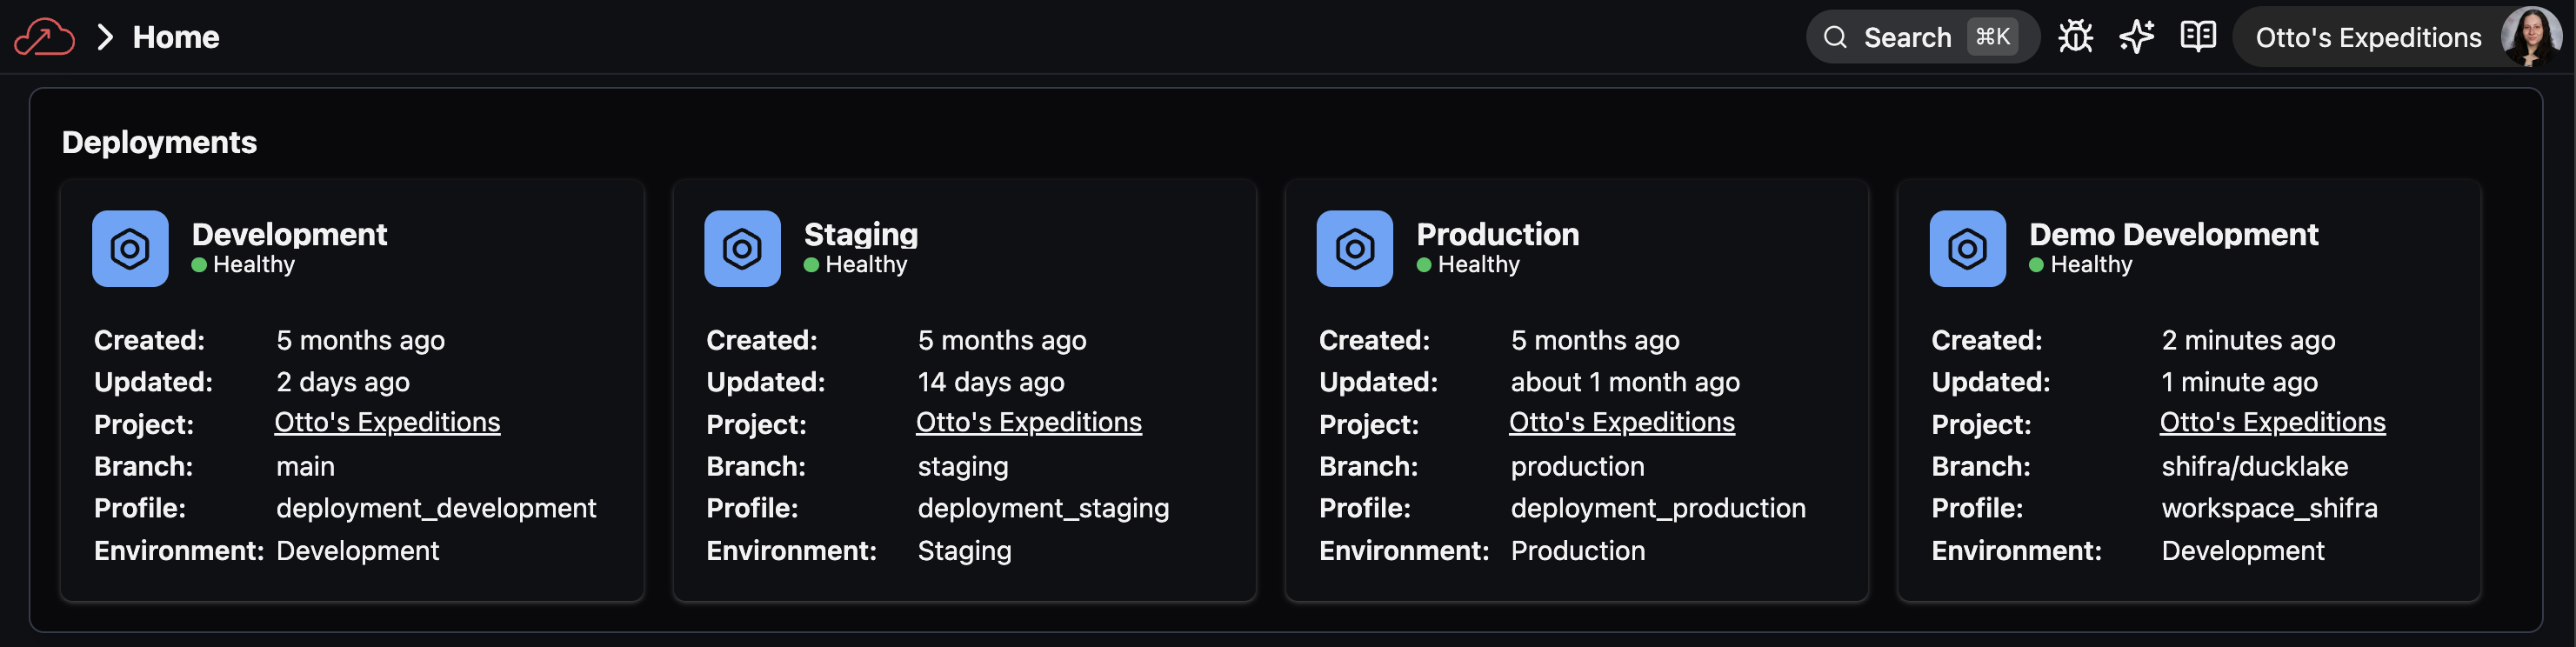
-
In the Deployments Dashboard, select the Flow you want to run from the left sidebar. Here, we'll select the
developer-quickstartFlow: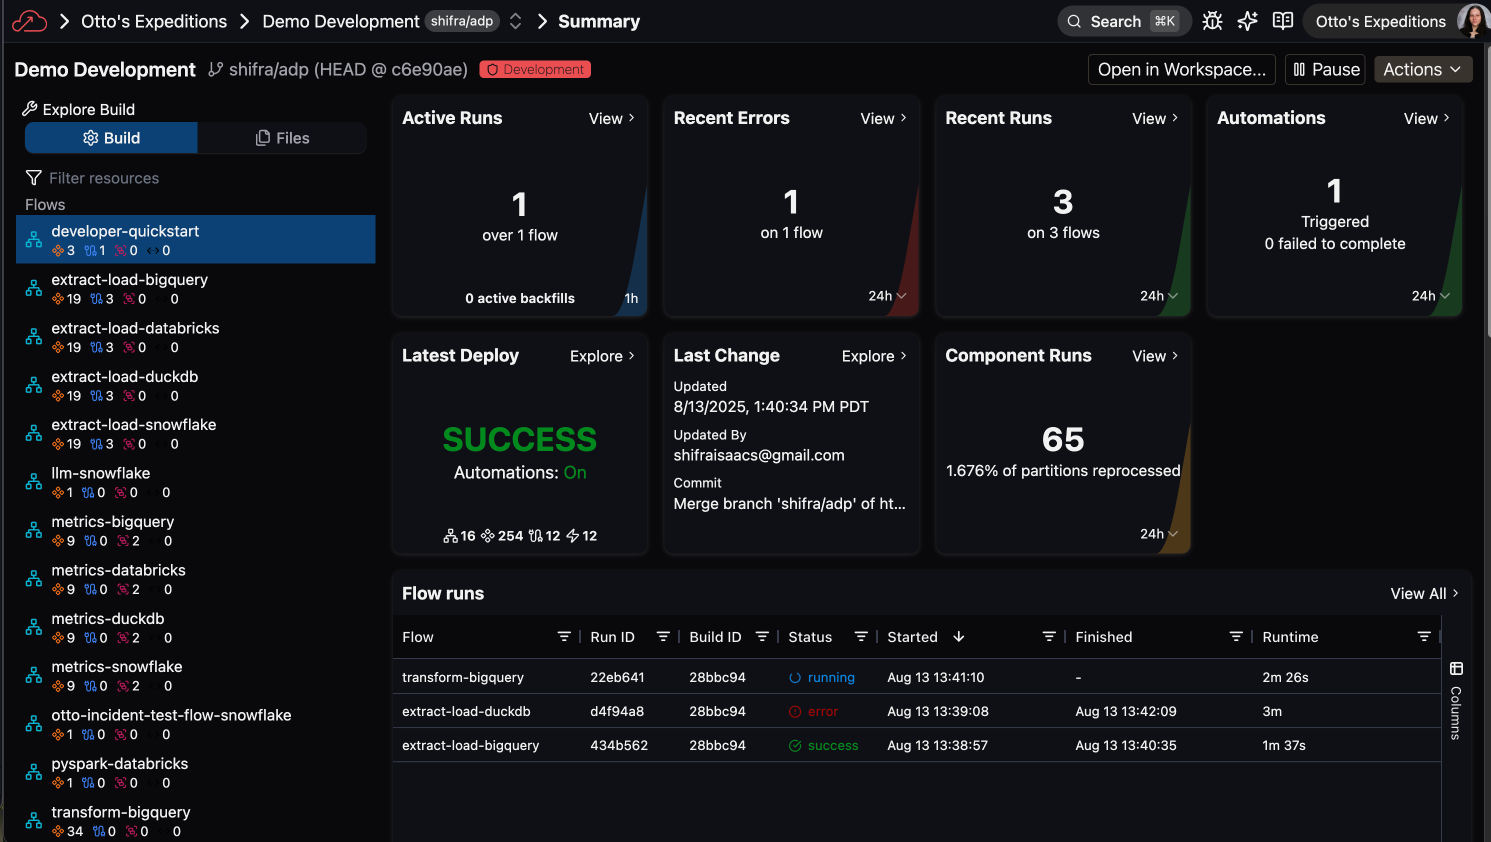
-
Click the Run Flow button in the top right corner:
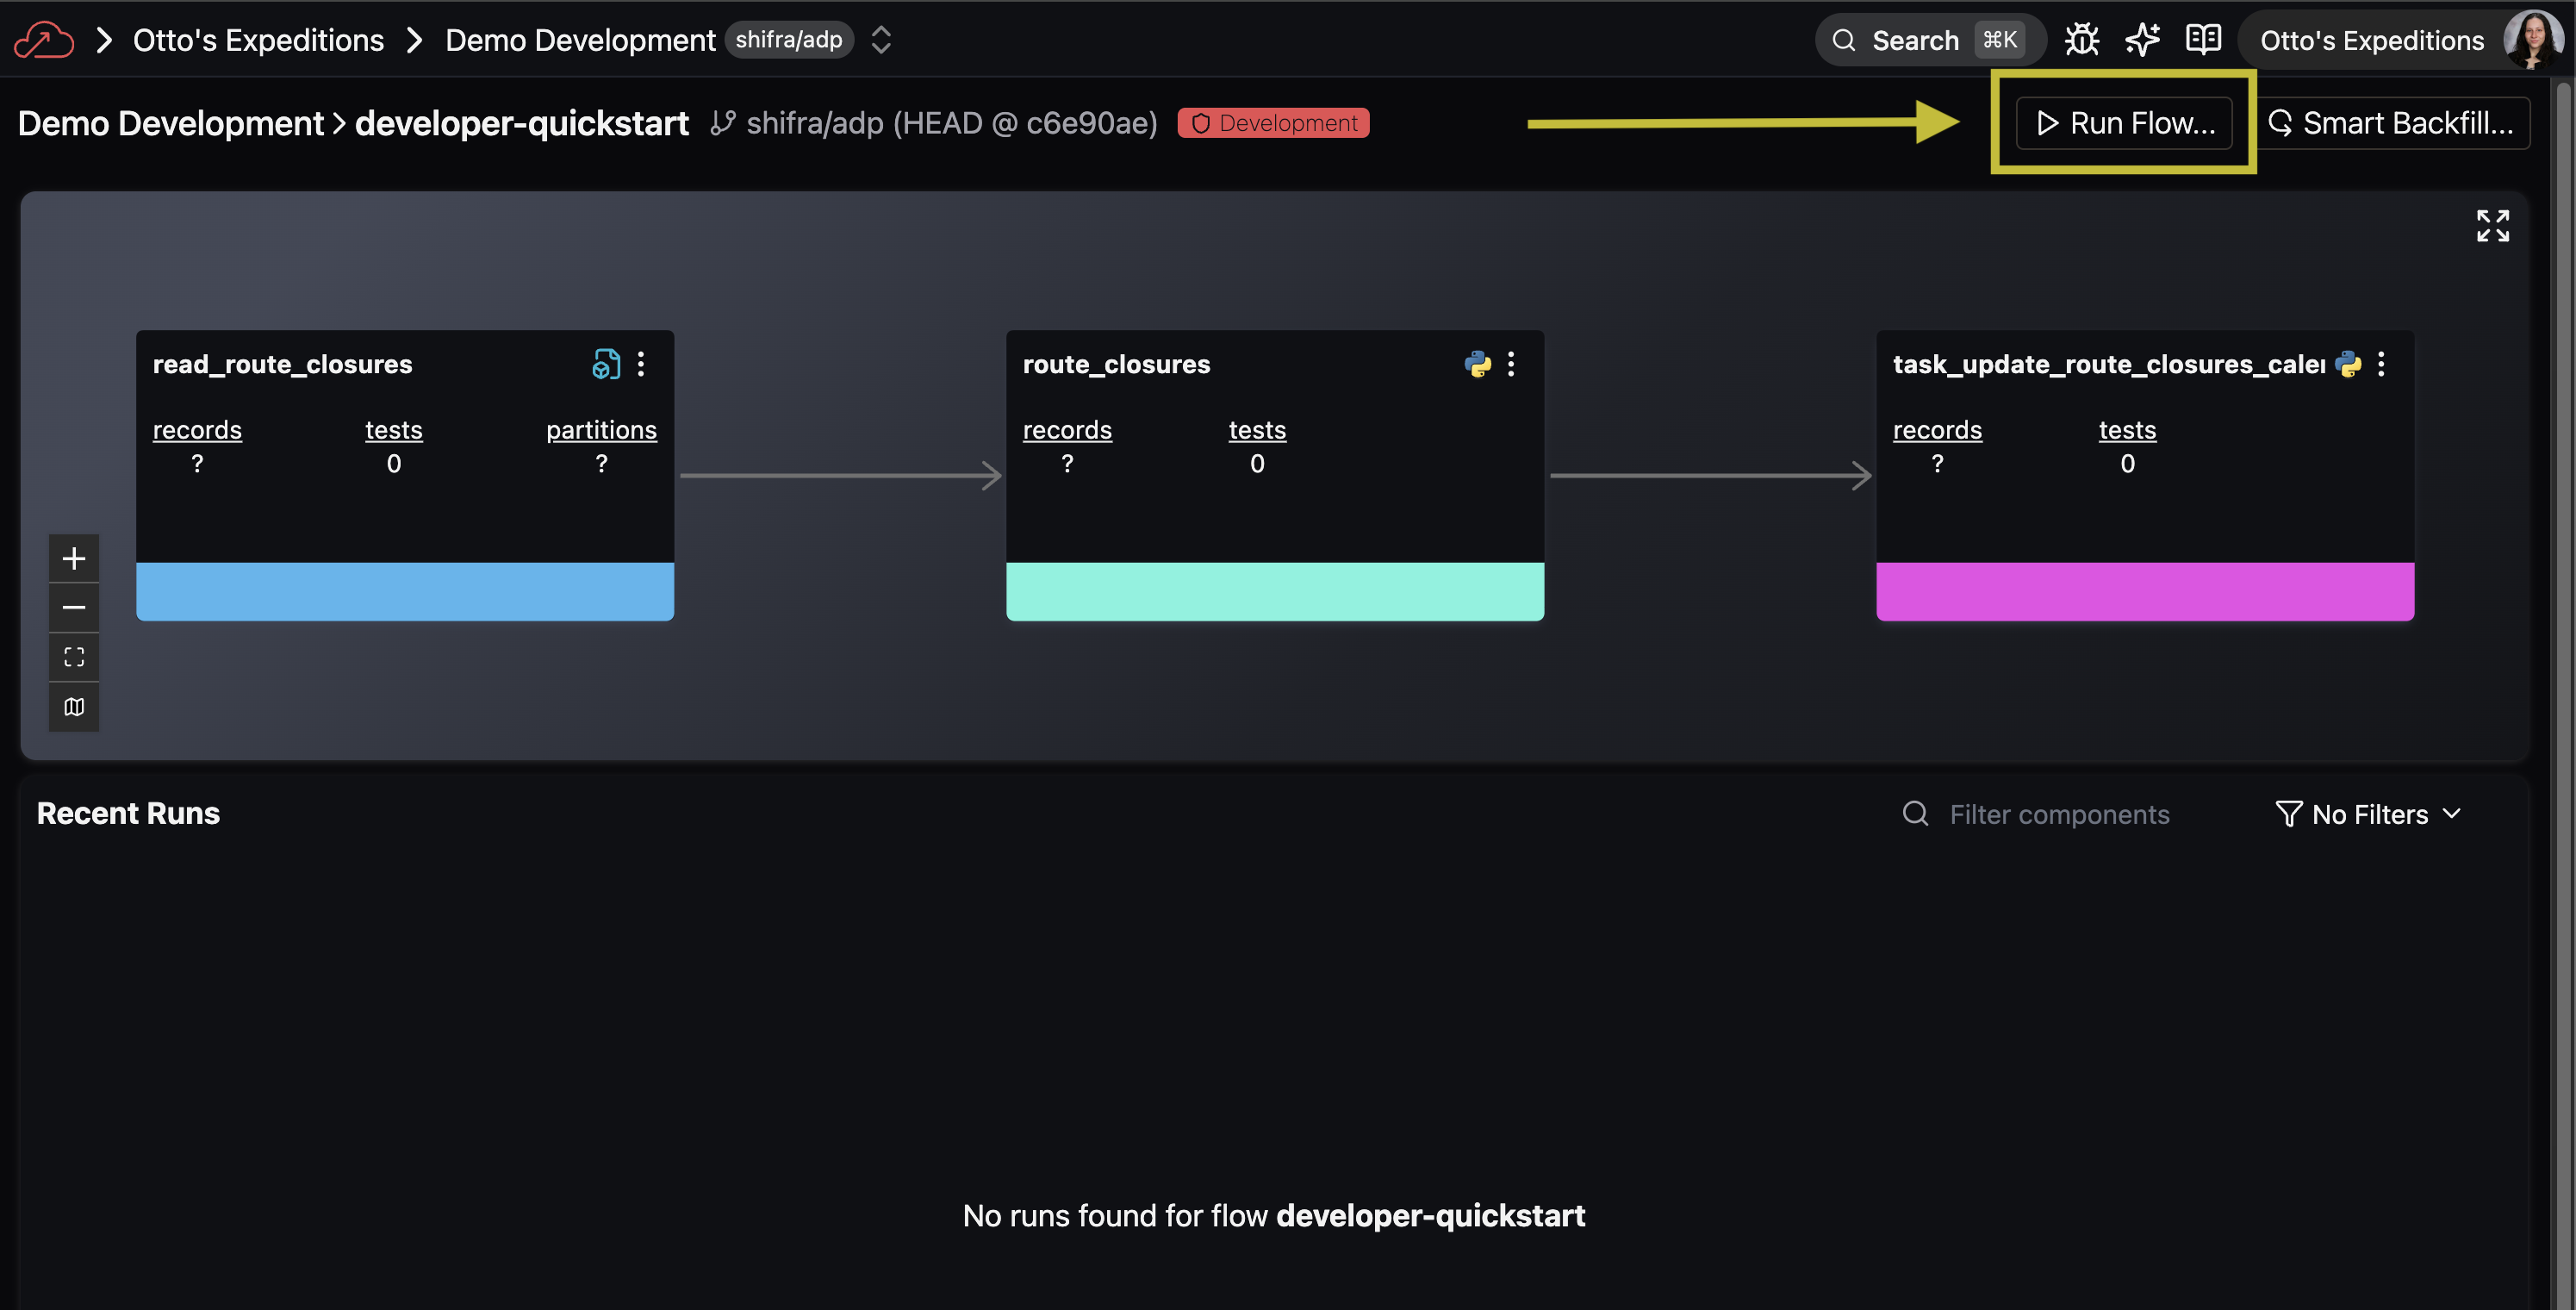
-
In the run configuration modal, adjust any Flow run options as needed, then click Run to start the execution.
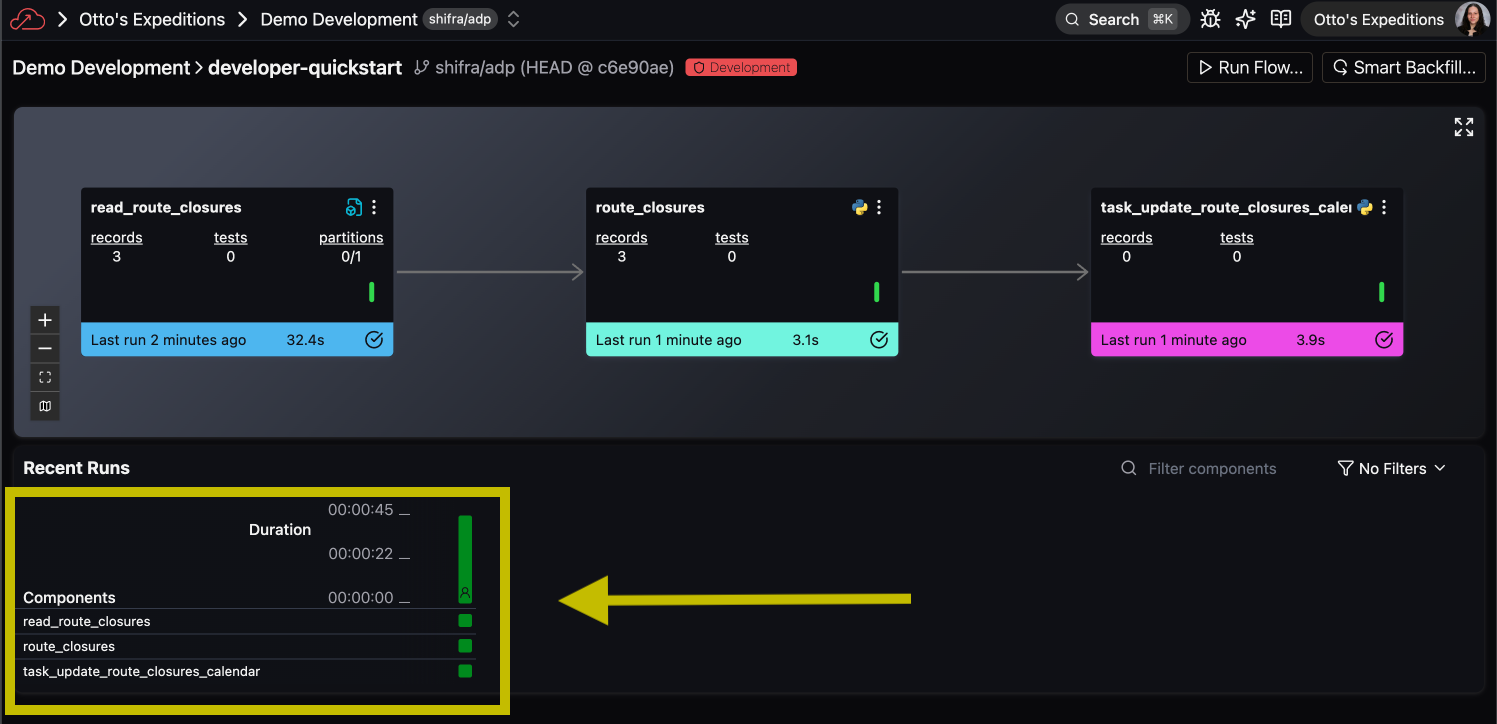
-
Monitor the execution progress through the Flow runs matrix, which displays the status of both the overall Flow and its individual Components:
🎉 Congratulations! You've successfully set up your Deployment infrastructure in Ascend, enabling a robust development lifecycle.
Next steps
- 📋 Learn more about best practices in Deployments