Oracle
This guide shows you how to create an Oracle Connection in Ascend.
Prerequisites
- Ascend Project
- Ascend Workspace
- Credentials for your Oracle database
- Username: Username of the account used to connect to the Oracle server
- Password: Password of the account used to connect to the Oracle server
Create an Oracle Connection
From your Workspace Super Graph view, follow these steps:
- Form
- Files panel
- Create a Connection by either:
- Clicking the + button next to Connections in the left Build panel
- Right-clicking in the Super Graph and selecting Create Connection


- Enter a descriptive name like
read_oracle - Select Oracle from the available options
- Fill in the required fields (and any optional fields as needed)
- Click Save at the bottom to create your Connection

- Open the Files panel in the top left
- Right-click the
connectionsdirectory and select New File
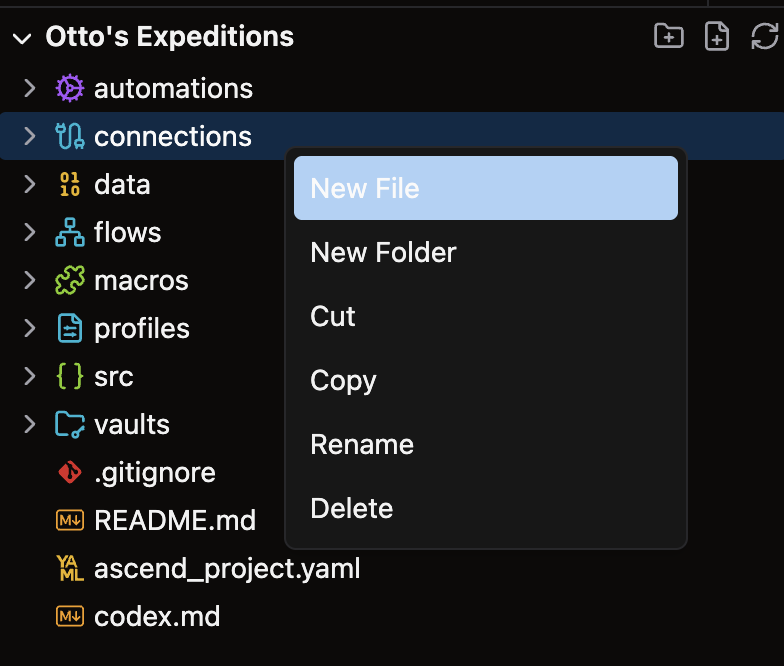
- Give your file a descriptive name like
read_oracle.yaml
For complete configuration options, see our Connection reference guide.
Example
Use the following YAML template for your Oracle Connection. Customize the placeholder values with your specific Connection details:
/my_project/connections/oracle_connection.yaml
connection:
  oracle:
    host: <host>
    port: 1521 # default value is 1521, can modify as needed
    database: <database>
    user: <user>
    password: "${vaults.<your_vault>.<password>}"
🎉 Congratulations, you just set up an Oracle Connection in Ascend!