Create a Snowflake Connection
This guide shows you how to create a Snowflake connection in Ascend.
Prerequisites
- Ascend Project
- Ascend Workspace
- Credentials for a Snowflake account
- Username: Username of the account used to connect to Snowflake
- Password: Password of the account used to connect to Snowflake
- Currently, only username and password authentication is supported for Snowflake connections.
Create a new Snowflake Connection
Begin from your workspace Super Graph view. Follow these steps to create your connection:
- Using the Connection Form
- Using the Files Panel
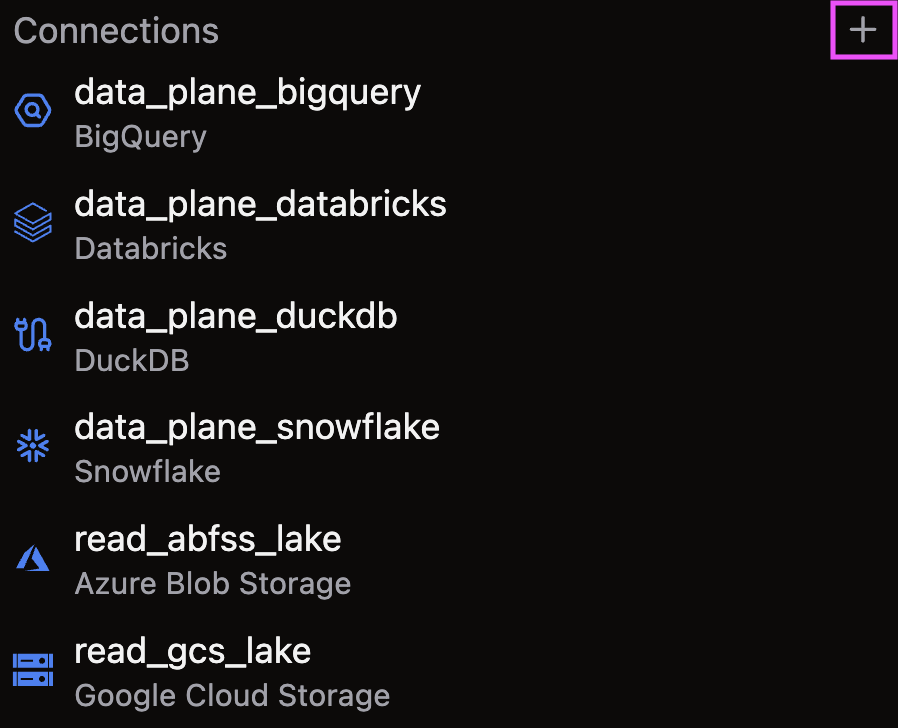
- To start creating a connection, either:
- Click the + button next to Connections in the left Build panel
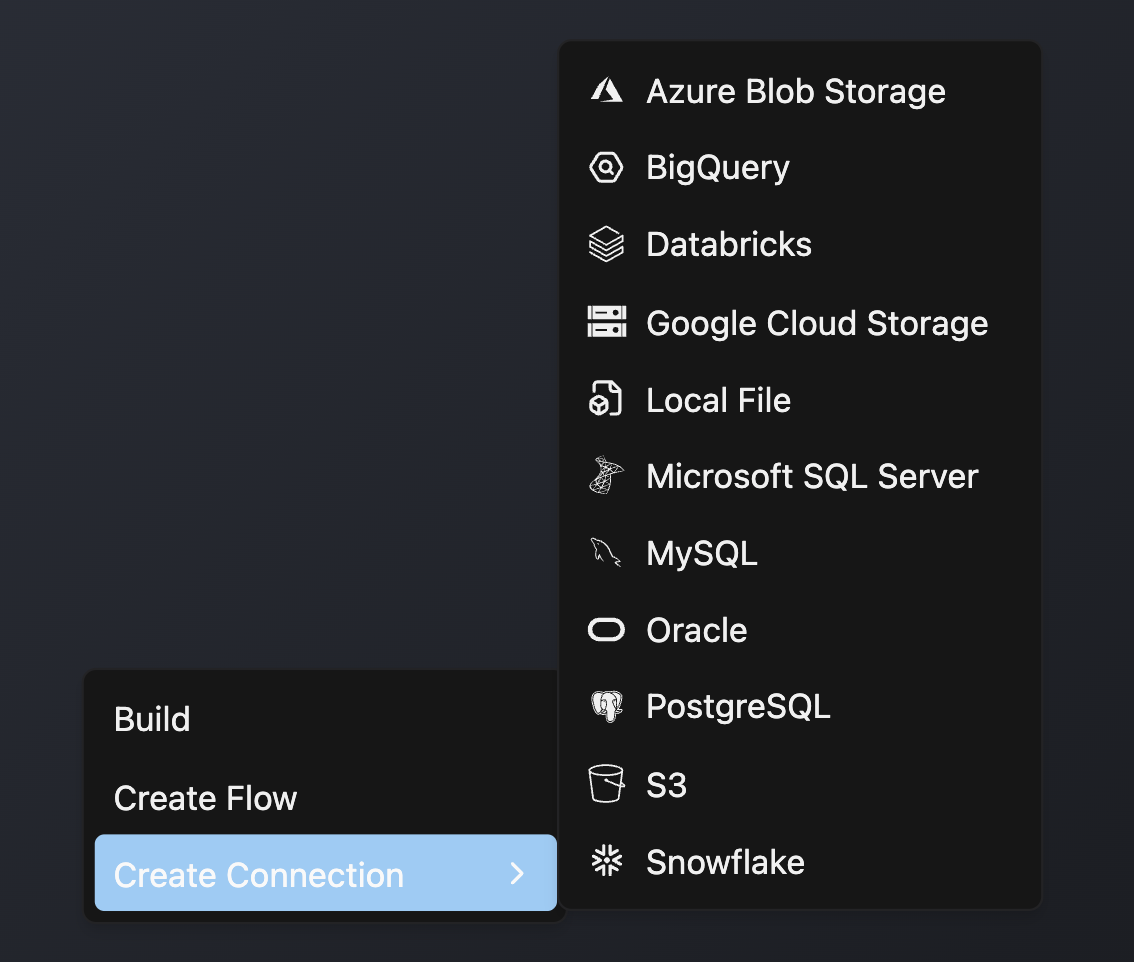
- Or right-click anywhere in the Super Graph and hover over Create Connection
- Name your connection `data_plane_snowflake`
- Select Snowflake from the available options
- Complete the required form fields (along with any desired optional fields)
- Scroll to the bottom and click Save to create your Connection

- Open the files panel in the top left corner
- Right-click on the Connections directory and choose New File
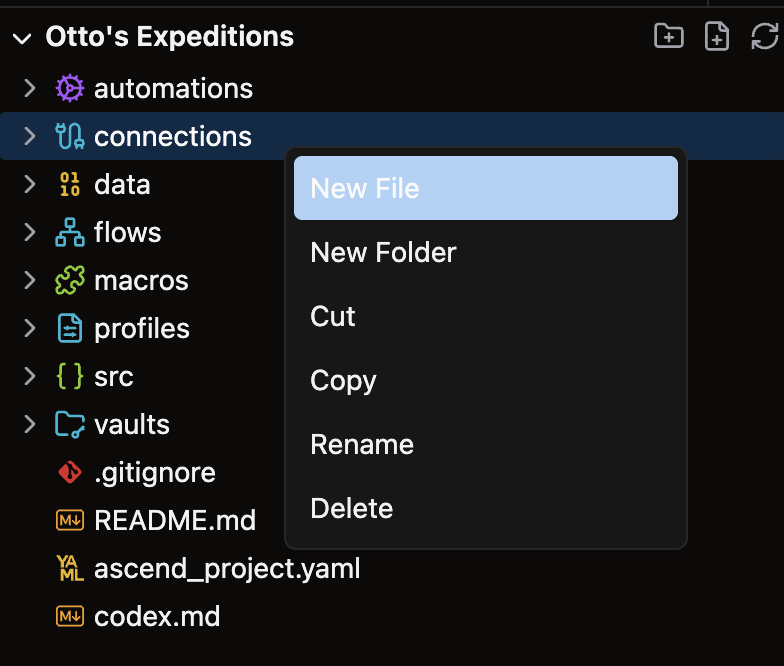
- Name your file with a descriptive name like `data_plane_snowflake.yaml` and press enter
To learn more about the different options for Connections, check out our reference guide.
Example
Use the following YAML template for your Snowflake connection. Customize the highlighted values with your specific connection details:
/my_project/connections/snowflake_connection.yaml
connection:
  snowflake:
    account: <account-name>
    database: <database>
    schema: <schema>
    user: <username>
    password: ${vaults.<your_vault>.<secret_key>}
    warehouse: <warehouse>